Ever wondered how to prepare an area for paving services? Or what makes a paving project perfect? It’s all about the prep work. You need to check the area, pick the right materials, and manage water.
In cities like Columbus and Cincinnati, many choose natural stone pavers. HT Paving and Seal Coating Services can help with all these steps. They have experience with concrete, asphalt, and paving. To start, call us at (415) 774-6424. We’ll help you pave the way for a lasting and efficient surface.
Key Takeaways
- Effective paving site prep includes assessing ground conditions and selecting suitable materials.
- Excavating a solid base to a minimum depth of 6 inches is key for stability.
- Choosing the right thickness for paving stones ensures durability and long-term performance.
- Preparing the base with moisture improves compaction and stability significantly.
- Understanding local regulations can prevent issues before starting your paving project.
Understanding the Importance of Preparation
Preparation is key to a successful paving project. It sets a strong foundation that prevents problems like shifting and water damage. For example, a good paver base needs 6-8 inches of excavation, sometimes up to 10 inches in cold areas.
This careful step makes the installation strong against many environmental challenges.
Why Preparation Matters
Spending time and money on proper preparation lowers the risk of bad paving results. A solid base is vital for a smooth surface, saving on upkeep costs. When preparing, it’s important to consider the soil type and drainage slope.
Soil tests help figure out how much weight different soils can handle. A slope of 1/4 inch per foot is good for drainage, stopping water damage.
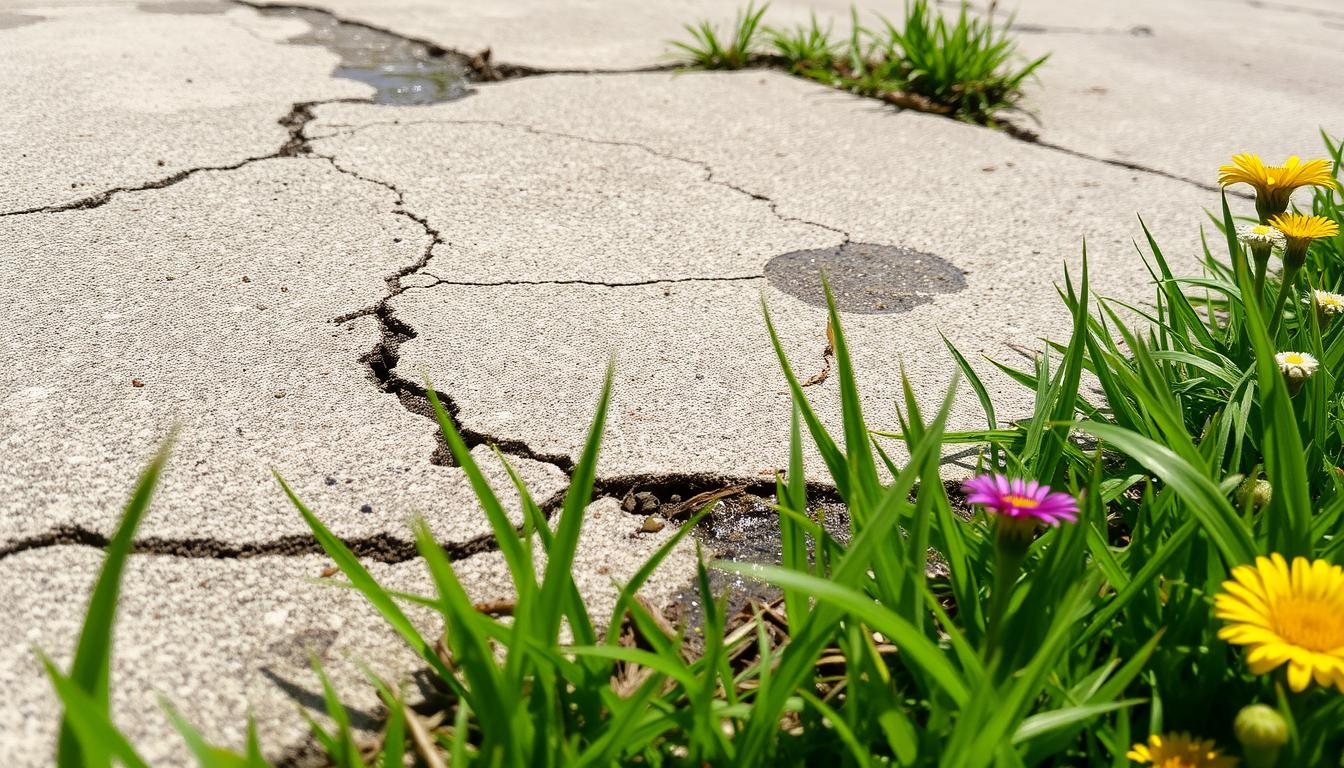
Common Issues from Poor Preparation
Ignoring preparation can cause many problems, like uneven surfaces. These issues harm both looks and use. Badly set and uneven installations lead to long-term upkeep headaches.
Also, poor drainage can cause flooding, costing $3,000 to $10,000 to fix. Fixing these problems early is all about the importance of preparation. It ensures lasting results that boost property value.

Assessing the Area for Paving
Checking the area well is key for good paving. It starts with a detailed look at the ground to see what kind of soil it is. Each soil type reacts differently to weight, which affects how to pave it.
Testing the soil helps find out how much weight it can take. This is important for how long the paving will last and how it will drain.
Evaluating Ground Conditions
Looking at the ground means checking the soil to see if it can take the paving’s weight. For paths, a four-inch gravel base is enough. But for places cars go, you need six to ten inches of gravel.
Adding a one-inch sand layer on top of the gravel makes the base stable. This stops the paving from failing too soon.
Identifying Drainage Solutions
Drainage is also very important for paving. Bad drainage can cut the paving’s life by half. Making sure the paving slopes right helps water run off.
Using catch basins or proper grading helps avoid water damage. Keeping these systems checked and maintained makes the paving last longer.
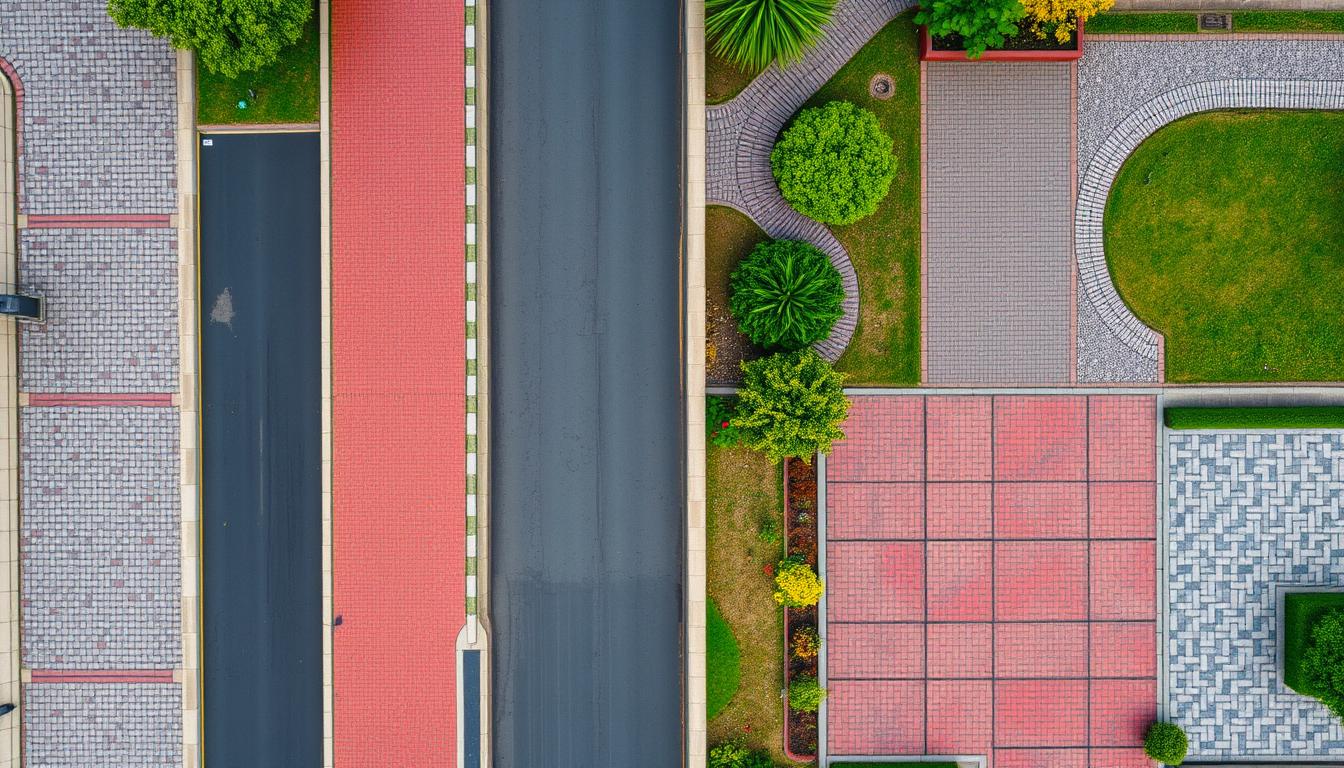
Choosing the Right Materials
Choosing the right paving materials is key to a successful project. Different materials have their own benefits, depending on the climate, look, and how long they last. Knowing what each material offers helps you make choices that are both practical and stylish.
Types of Paving Materials
There are several types of paving materials. Brick pavers are loved for their timeless beauty and lasting quality. Concrete pavers are more affordable and come in many colors and patterns, fitting any style. Natural stone pavers, though pricier, add a touch of elegance.
Each material has its own needs for installation and upkeep.
Considerations for Material Selection
When picking paving materials, think about a few important things. How well they stand up to the weather is a big deal. Some materials can be damaged by freezing and thawing, which shortens their life.
How easy they are to put down and how long they last are also key. For example, concrete pavers might need a seal in damp places, while natural stone needs careful laying because of its varied sizes. And, of course, the material’s look should match your project’s vision.
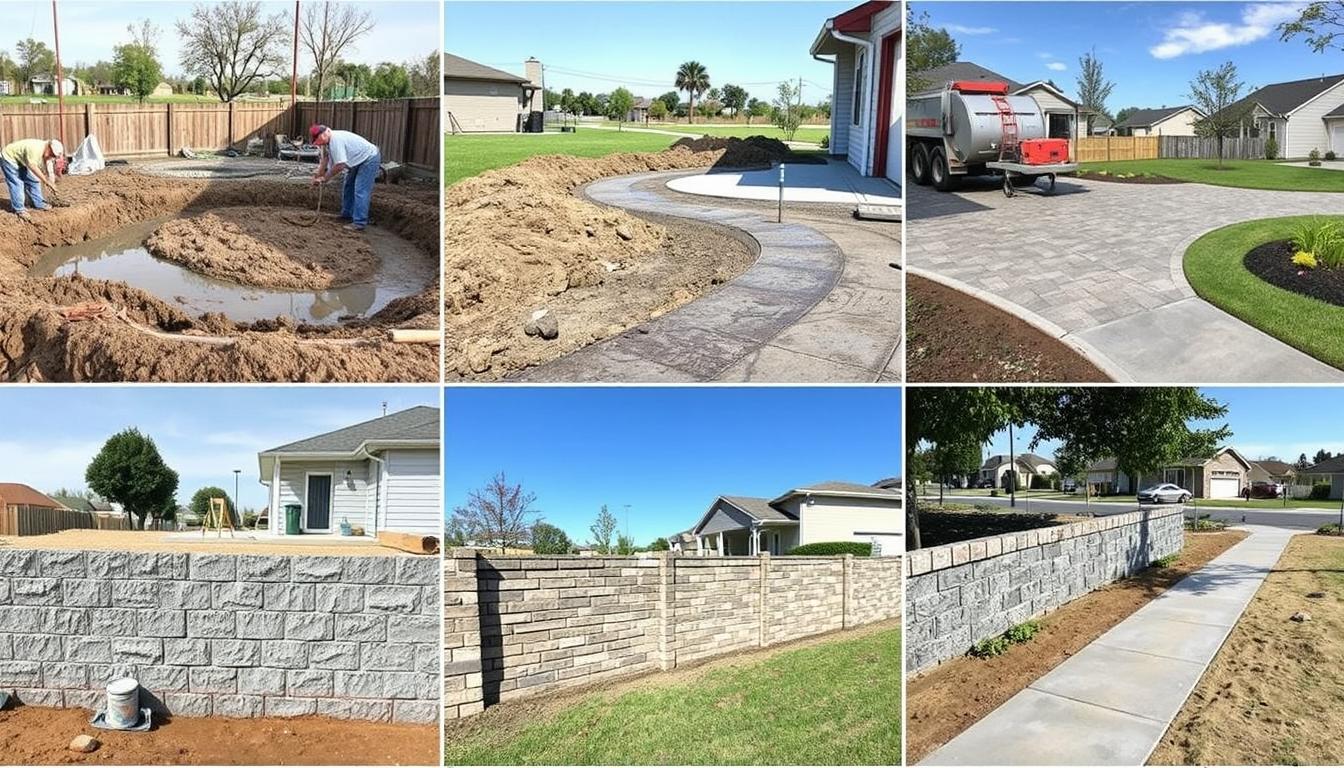
Clearing the Area
Clearing the area is key to a successful paving job. It involves removing old surfaces and preparing the ground. This makes sure the new pavement has a strong base.
Removing old paving, tiles, and plants is part of this process. These can weaken the new surface. It’s important to get rid of them to ensure the pavement lasts long.
Removing Existing Surface Materials
The first step is to remove the old surface materials. Shovels, rakes, and big machines help get rid of debris. It’s vital to clear 100% of the surface to avoid problems later.
If not done right, it can cause cracks and unevenness. This can ruin the pavement over time.
Addressing Vegetation and Debris
Managing plants and debris is also critical. It keeps the surface clean and prevents damage. A clean surface helps the pavement last longer.
By focusing on area clearing, you prepare the ground for a strong pavement. This is important for many uses.
Marking the Boundaries
Setting clear boundaries is key in paving projects. It involves making a detailed layout that meets project needs. This ensures the borders are accurate and follow the design.
Using Stakes and String
Small stakes and white string make marking easy. They act as a guide during excavation and base material placement. Stakes are placed at set intervals, and the string is stretched tight.
This method clearly outlines the paving area. It helps keep the depth consistent for layers like gravel and sand. These layers are vital for a strong foundation.

Importance of Accurate Measurements
Getting measurements right is key. Tools like tape measures and levels help create the right slopes for drainage. This prevents water pooling and erosion.
The slope should be about 1/4 inch per foot to direct water away. This careful planning ensures a successful installation. Keeping measurements consistent improves the paving’s function and looks.
Compaction and Grading
Proper compaction and grading are key for a stable paving project. Grading sets the slope for water drainage. A slope of about 1/4 inch per foot helps water flow away, preventing damage.
The subgrade has different soils like clay, sand, and gravel. Each soil needs special methods to bear weight better.
How to Properly Grade the Surface
When paving, consider the soil types. Clay soils might need extra help. Grading should keep layer thickness to 4 inches for best density.
For sidewalks, a 4 to 6 inch base material is best. This adds stability for walkers. Creating smooth transitions between new and old surfaces is also important.
The Role of Compaction in Paving
Compaction is essential to fill soil voids and boost its strength. Without it, problems like cracks and sinkholes can happen. Using surface compaction techniques is necessary for stability.
Each layer must be compacted well before adding the next. This prevents settling issues. Edge restraints are also key for even load and to stop pavers from shifting.
Testing soil and moisture is important for quality assurance. Proper subgrades ensure paving lasts longer and stays strong. Learn more about line striping here.
Ensuring Proper Drainage
Effective drainage solutions are key to the long life and stability of paved areas. During preparation, proper drainage helps avoid water pooling and damage. Techniques like grading and installing drainage solutions manage water flow well.
Techniques for Effective Drainage
Grading the surface at a slight slope helps water runoff. A 2% slope ensures water flows away, preventing stagnation. Channel drains also keep debris out, improving drainage system efficiency.
Installing Drainage Solutions
Permeable pavers are great for drainage. They let 65-80% of water pass through, reducing accumulation. ROMEX TRASS BED is a good choice for its drainage and installation benefits. Proper drainage practices also prevent slips and falls, making areas safer.
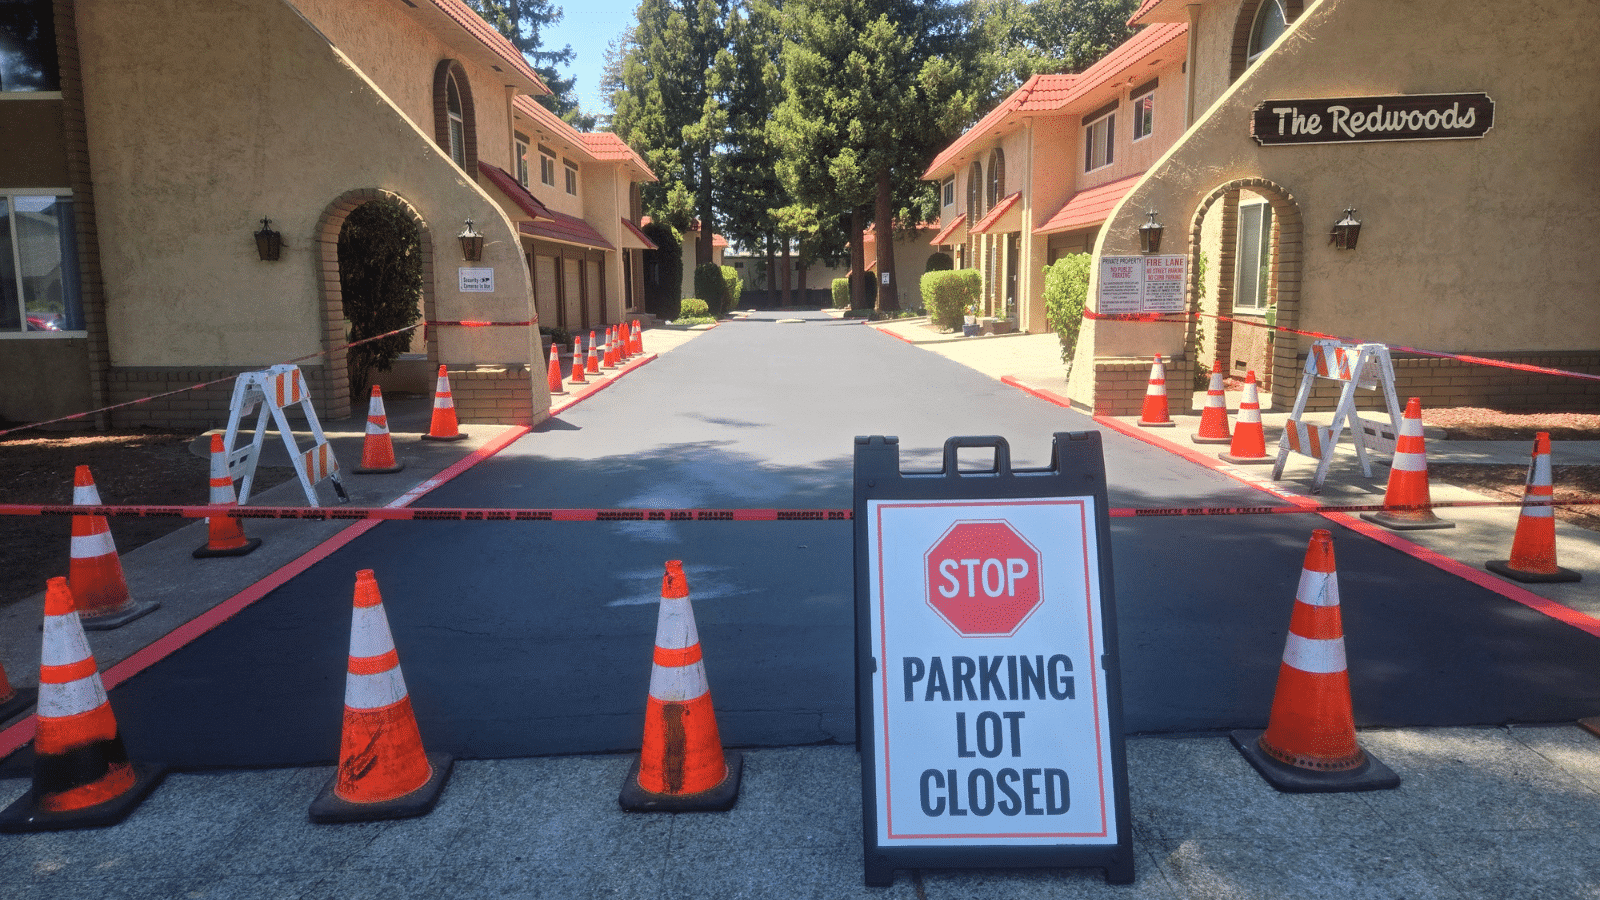
Working with Professionals
For the best results in paving projects, hiring professional services is key. Experts shine in complex tasks like fixing drainage, handling big areas, or getting precise grading. They manage every step with skill and care.
When to Hire Paving Services
Think about hiring pros when the project is too big or complex for you. If the area needs careful grading or has big drainage problems, experts are a good choice. They know how to pick and use materials right, ensuring a top-notch finish.
Benefits of Choosing HT Paving and Seal Coating Services
Choosing HT Paving and Seal Coating Services in the Bay Area comes with big perks. They have lots of experience in paving, making sure projects turn out great. You’ll get great service, safety, and a solid foundation for your paving needs.
Final Checklist Before Paving
Getting ready for paving is key to a good project. You need to check the site is clear, stable, and graded right. Make sure you have enough materials, adding 10%–15% for extra cuts or breaks.
Each cubic yard of base covers about 108 square feet at 3 inches deep. This helps avoid delays in paving.
Last-Minute Preparations
Before starting, check the site well. It should be dug to the right depths—6–8 inches for paths and 8–12 inches for driveways. Also, make sure there’s a 1-inch layer of concrete sand for a smooth start.
Using tools to make the surface flat helps avoid water pooling and structural problems. Keeping the site clean of debris and rocks is vital for success, as 90% of prep work depends on it.
Confirming Safety Measures and Protocols
Safety is key in paving projects. Regular checks and proper PPE for workers help lower risks. Following strict safety rules, like checking machines and using checklists, boosts efficiency and protects the team.
A site ready with all safety measures in place makes the paving smoother. This lets experts like HT Paving and Seal Coating Services do their best work.