Ever wondered what prep is needed before sealcoating? Or why some driveways stay looking great while others crack and fade? It’s often because of sealcoating prep. Knowing what prep is needed is key before you start sealcoating. This guide will show you the important steps for a perfect finish and longer pavement life.
Good prep isn’t just about looks; it protects your driveway and makes it look better. We’ll cover each step of prep in the next sections. This will help you get ready for a successful sealcoat job.
Key Takeaways
- Preparation is key for good sealcoating and longer asphalt life.
- Weather, like temperature and moisture, affects sealcoating success.
- Cleaning deeply removes dirt and stuff you don’t want, making it easier to apply.
- Checking for cracks and damage early saves money on fixes later.
- Picking the right sealcoat product makes a big difference in how it looks and works.
Understanding Sealcoating and Its Importance
Sealcoating is key for keeping asphalt surfaces in good shape. It adds a protective layer to driveways, parking lots, and streets. This layer fights off harmful elements. Knowing about sealcoating and its role is very helpful for property owners.
What is Sealcoating?
Sealcoating is when a protective substance is applied to asphalt pavement. It keeps the surface safe from UV rays, water, oil, and gasoline. This helps prevent damage and makes the asphalt last longer.
High-quality materials used in sealcoating make the surface better and more durable. This ensures the asphalt stays reliable for a long time.
Benefits of Sealcoating
The benefits of sealcoating are many and important. It makes a property look better, which can increase its value. A well-sealed driveway looks smooth and inviting.
Sealcoating also saves money on repairs in the long run. Studies show it can cut repair costs by up to 50%. It can even double the life of a driveway, making it a smart choice for asphalt care.
For example, a shopping complex in Ohio saved about $127,000 over 15 years with regular sealcoating. Sealcoating is a wise investment for keeping asphalt in top condition.
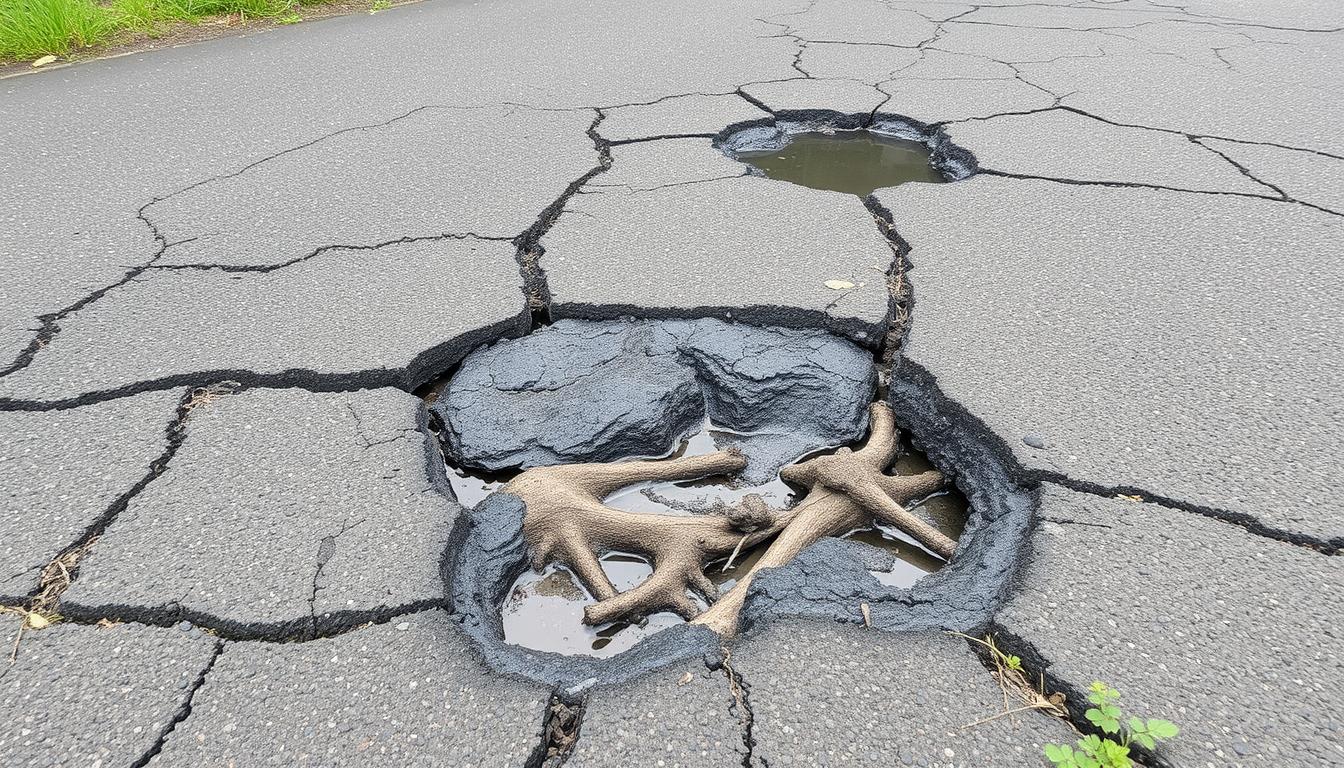
Assessing the Condition of Your Pavement
Before starting the sealcoating, it’s key to check the pavement’s condition. Look for cracks, potholes, and any damage that could affect the sealant. Finding these problems early helps the sealant stick better.
Inspecting for Cracks and Damage
Look for signs of damage like fading color, cracks, and rough texture. Regular checks can spot problems early. Small issues can get worse fast if not fixed right away.
Spotting cracks before starting work can make your pavement last longer.

Identifying Areas Needing Repair
First, find cracks and damage to see how much repair is needed. Start with big cracks or worn-out spots. Fixing these first helps the sealant work better.
Cleaning the Surface
Cleaning the asphalt surface is essential before sealcoating. It ensures the sealant sticks well and improves results. Removing debris and oil stains is key to avoid blocking the seal.
Removal of Debris and Oil Stains
Start by removing loose debris, dust, and plants. Use power blowers or brooms for this. For tough oil stains, a degreaser is the best choice.
After that, power washing is needed to dry and clean the surface. This step is critical before sealing.
Techniques for Effective Surface Cleaning
Choosing the right cleaning methods is critical. Power washing is effective for removing debris and oil. A dry surface is also essential to avoid moisture problems during sealcoating.
These steps ensure a strong and lasting seal. Proper surface preparation is key.
Repairing Pavement Defects
After cleaning, fix any defects for a good sealcoat. This includes filling cracks and repairing potholes. It makes the surface smooth and long-lasting. Using top-grade fillers and patch compounds fixes these issues and extends the asphalt’s life.
Filling Cracks and Potholes
Filling cracks and potholes quickly is key. Small cracks, under 1/4 inch, should be fixed fast to stop more damage. Potholes are dangerous, so fixing them quickly is important for safety. Using the best materials makes repairs last longer and reduces future damage.
Resurfacing Techniques
For areas with a lot of wear, resurfacing might be needed. Overlays are a cost-effective way to make the surface smooth again. They improve how well the pavement works.
Milling removes old asphalt to put on new layers. Full-depth reclamation rebuilds damaged areas by recycling old materials. These methods make the pavement look better and are good for the environment. They also make the surface stronger.
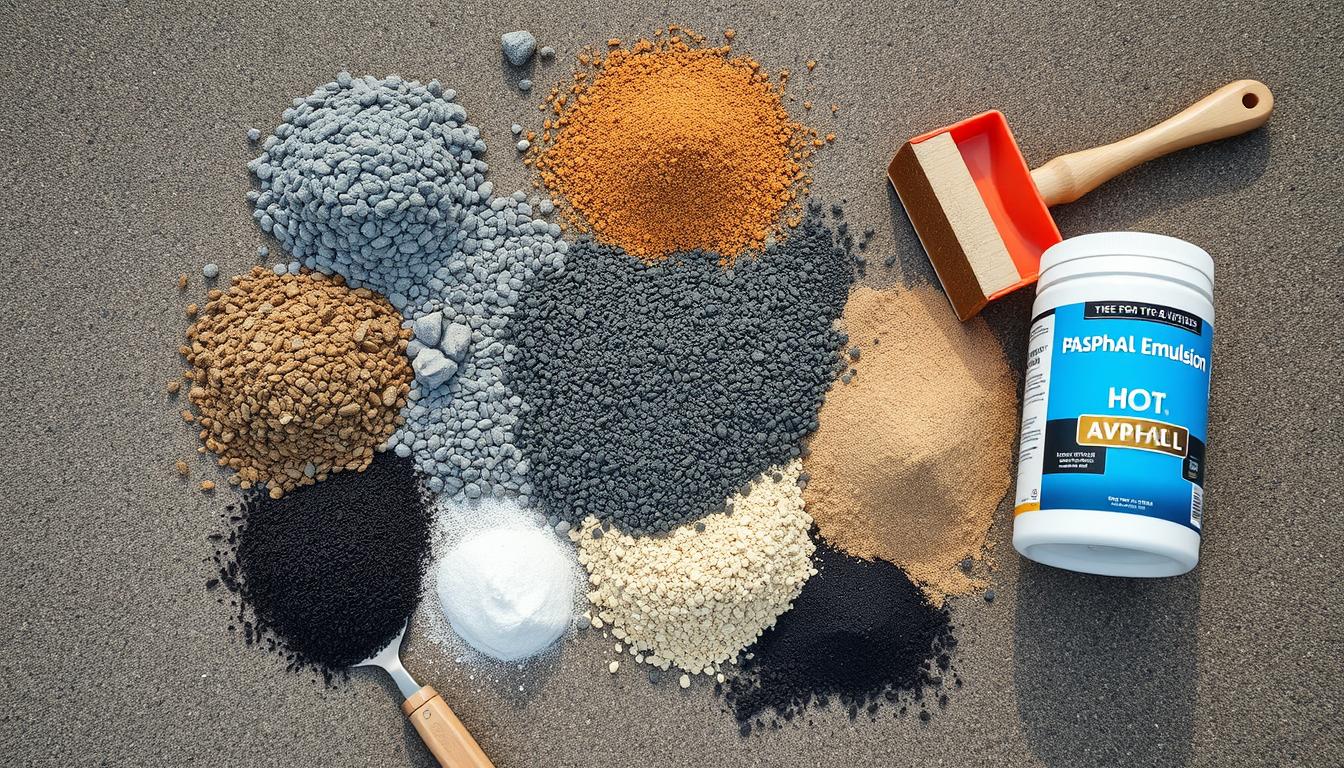
Choosing the Right Sealcoat Product
Choosing the right sealcoat product is key to lasting results on your asphalt. There are many types of sealants out there, each for different needs. Knowing what you need makes picking the right one easier.
Types of Sealcoat Options
Asphalt-based, coal tar, and acrylic sealers are top choices. Asphalt-based sealers are good for homes. Coal tar sealers last long in busy places. Acrylic sealants protect well against UV rays.
Each type has its own benefits. So, think about how much traffic your area gets and the weather.
Factors to Consider When Selecting
When picking a sealant, consider a few things. The weather can change how fast the sealcoat dries and lasts. A good sealcoat dries in 3 to 4 hours.
Busy spots like airports need strong sealants. These last 2 to 3 years, unlike the 6 months for home use. Also, make sure the sealcoat sticks well to the asphalt. A shiny sealcoat when dry means it doesn’t bind well.
Knowing these details helps your sealcoat project last longer and work better.
Weather Considerations
Knowing the weather is key for a good sealcoating job. The right temperatures are important for sealants to work well. Sealcoating works best when it’s above 50°F and below 95°F in summer.
Too much heat can cause problems like flash curing. This hurts how well the sealant sticks and the quality of the job.
Ideal Temperature for Sealcoating
Sealcoating is best done in cooler times like early morning or late afternoon. This avoids heat problems. High pavement temperatures can make curing harder, reaching up to 120°F.
It’s important to watch both air and pavement temperatures. These affect how well sealcoating works. Sealcoating on dry, sunny days helps avoid moisture issues and keeps the seal coat strong.

Avoiding Rain and Other Weather Conditions
Moisture can ruin how well the sealant sticks, making it less effective and shorter-lived. Rain can cause a white haze, showing it’s not bonding right. If rain is coming, it’s best to wait.
Even a little rain can mess up the sealant. Heavy rain can damage surfaces that aren’t protected. Planning for the right weather ensures a great job.
Preparing for Application Day
On application day, being well-organized is key. HT Paving services offer great scheduling options. This ensures your needs are met quickly. Early preparation is vital for a successful project.
Scheduling the Service with HT Paving
Booking with HT Paving is a big step. A good schedule helps get the best results. It also keeps everyone on the same page about the project timeline.
Ensuring Sufficient Curing Time
Curing time is very important. It can take 24 to 48 hours, depending on the sealant and weather. Avoiding traffic during this time is essential for a strong seal. Proper curing time ensures your surface lasts longer.
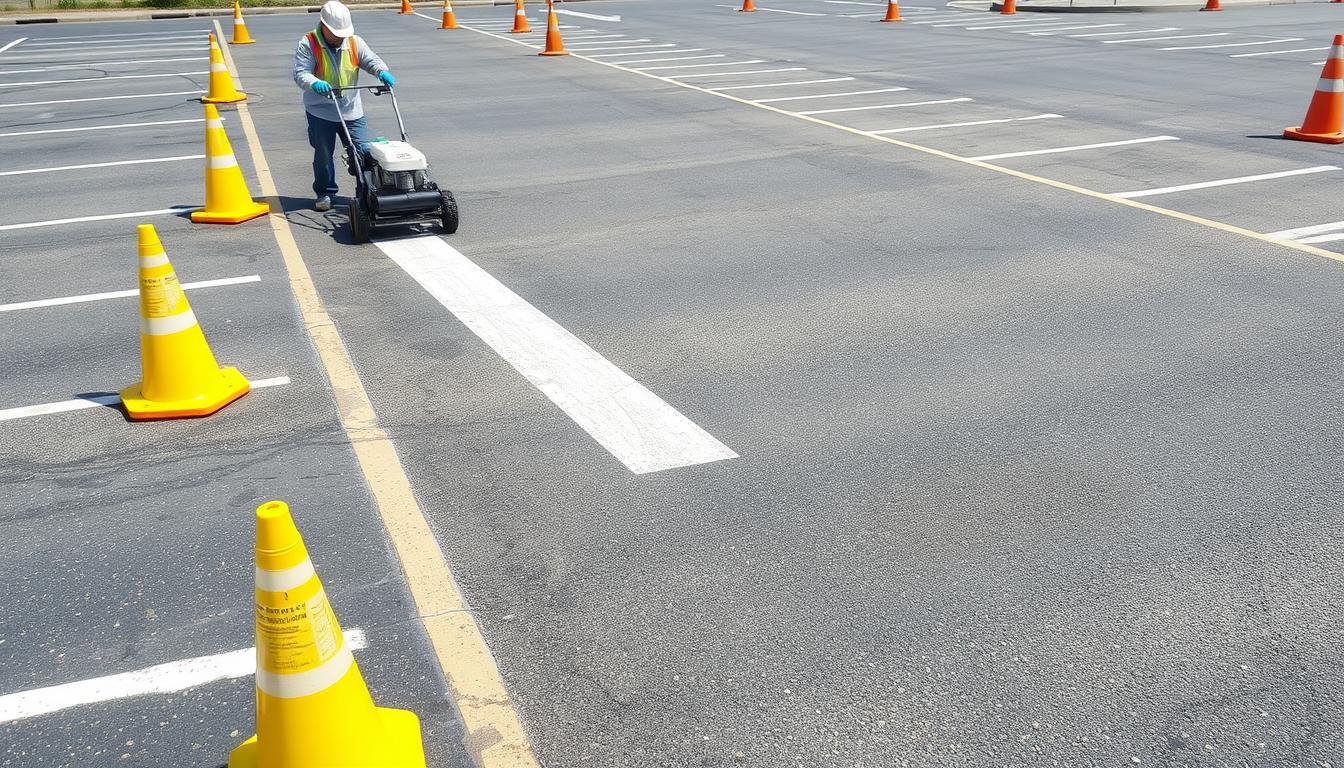
Safety Measures
Effective safety measures are key during sealcoating. Setting up road safety precautions is vital. This reduces risks from working on a busy pavement.
Marking the work area with cones or tape keeps vehicles and pedestrians safe. This approach creates a secure space for workers and the public.
Implementing Road Safety Precautions
Clear barriers are essential for road safety. Use warning signs to alert traffic to hazards. Talking to local authorities can help set up detours if needed.
These precautions lower risks for everyone. They help prevent accidents and improve the job site’s flow.
Protective Gear for Workers
Protecting workers is critical during application. Each should wear gloves, safety glasses, and masks. This protects against sealant dangers.
Proper gear prevents skin irritation and breathing problems. Making sure everyone has the right gear is essential for a safe sealcoating job.
Tools and Equipment Needed
To get a great sealcoating job, you need the right tools and equipment. The right tools make the job better and last longer. You’ll need sealing machines, brushes, and squeegees for the job. Don’t forget protective gear for safety.
Essential Equipment for Sealcoating
Quality tools are key for sealcoating. A sealing machine helps apply the sealant evenly. Brushes and squeegees are great for small areas and details. Also, have tools for cleaning up, like pressure washers and brooms.
Importance of Quality Tools
Good tools make a big difference in sealcoating. Cheap tools can lead to bad results. High-quality tools ensure the sealant lasts longer and works better.
Post-Application Care
After sealcoating, it’s key to take good care of your paved surfaces. Doing routine asphalt maintenance keeps your driveway or parking lot looking great and working well.
Maintenance Tips After Sealcoating
Good post-application care makes your sealcoat last longer. Clean the surface often and use mild detergents to avoid damage. Let the sealcoating cure for at least 48 hours before driving on it.
Follow the maker’s advice on when to reapply, usually every two to three years. This can cut down repair costs by half. Also, avoid heavy stuff and sharp objects to keep it in good shape.
When to Schedule Routine Inspections
Regular checks are important for your asphalt’s health. Do annual inspections to spot damage early. This way, you can fix problems before they get worse.
Look out for signs like cracks or fading to plan your sealing and upkeep. This can make your asphalt last 50% longer than untreated ones. Regular checks and quick action can add up to 25% to your asphalt’s life.
Why Choose HT Paving and Seal Coating Services?
Choosing a company for asphalt maintenance is a big decision. HT Paving and Seal Coating Services is a family-owned business known for its quality. They offer top-notch services in the Bay Area, focusing on making your pavement last longer and look better.
Family-Owned Values and Commitment
Being a family-owned business, HT Paving provides personal service. Their team works hard to build strong relationships with clients. They ensure your asphalt needs are met with care and expertise.
Regular sealcoating can make your asphalt last 5 to 10 years longer. This shows their commitment to quality and customer happiness.
Our Service Area and Expertise
HT Paving serves the Bay Area with specialized sealcoating techniques. They can reduce cracks and potholes by up to 90% with regular maintenance. Choosing HT Paving can also boost your property’s value by 5-10%.
For your next sealcoating project, pick HT Paving. You’ll see their dedication to excellence.