Ever wondered why some driveways stay new while others crack and fade fast? The answer lies in proper sealing prep. How do I prepare my asphalt for sealing? is a common question. Learning how to prep your asphalt can extend its life and improve its appearance.
At HT Paving and Seal Coating Services, we emphasize the importance of a thorough prep. It ensures the sealant adheres well and shields your asphalt from harsh weather. Regular maintenance can extend your asphalt’s life by up to 30%.
With the right techniques and timing, you can revive your old asphalt. Let’s dive into the essential steps for effective asphalt prep for sealing.
Key Takeaways
- Preparation enhances longevity and aesthetics of asphalt surfaces.
- Proper sealing can extend the life of asphalt by up to 30%.
- Ideal application temperatures should be above 50°F.
- Using powered blowers can improve cleaning efficiency by removing 95% of debris.
- Two coats of sealer are recommended for the best results.
Understanding the Importance of Asphalt Sealing
Sealing asphalt is vital for maintaining driveways and parking lots. It protects your investment and enhances the surface’s appearance. Knowing when to seal your asphalt is critical for its longevity.

Benefits of Sealing Asphalt
Sealing asphalt has many advantages. It protects against UV rays and prevents damage. It also keeps out water, oil, and chemicals. Sealing every 2 to 3 years keeps your driveway in top shape and increases your home’s value.
When to Seal Your Asphalt
Sealing asphalt at the right time is important. Seal when temperatures are between 50 and 90 degrees. Wait 3 to 6 months after laying new asphalt for the best results. After sealing, avoid walking or driving on it for 48 hours to let it cure.
Signs That Your Asphalt Needs Sealing
Spotting when your asphalt needs sealing can prevent bigger problems. Look for dullness, small cracks, or a coarse texture. Ignoring these signs can lead to costly repairs, like potholes or alligator cracks.
Assessing the Condition of Your Asphalt
Before starting the asphalt sealing process, it’s important to check your driveway’s condition. This step helps spot any existing problems that need fixing. Look for cracks, wear on the surface, and drainage issues to focus your maintenance efforts.
Inspecting for Cracks and Damage
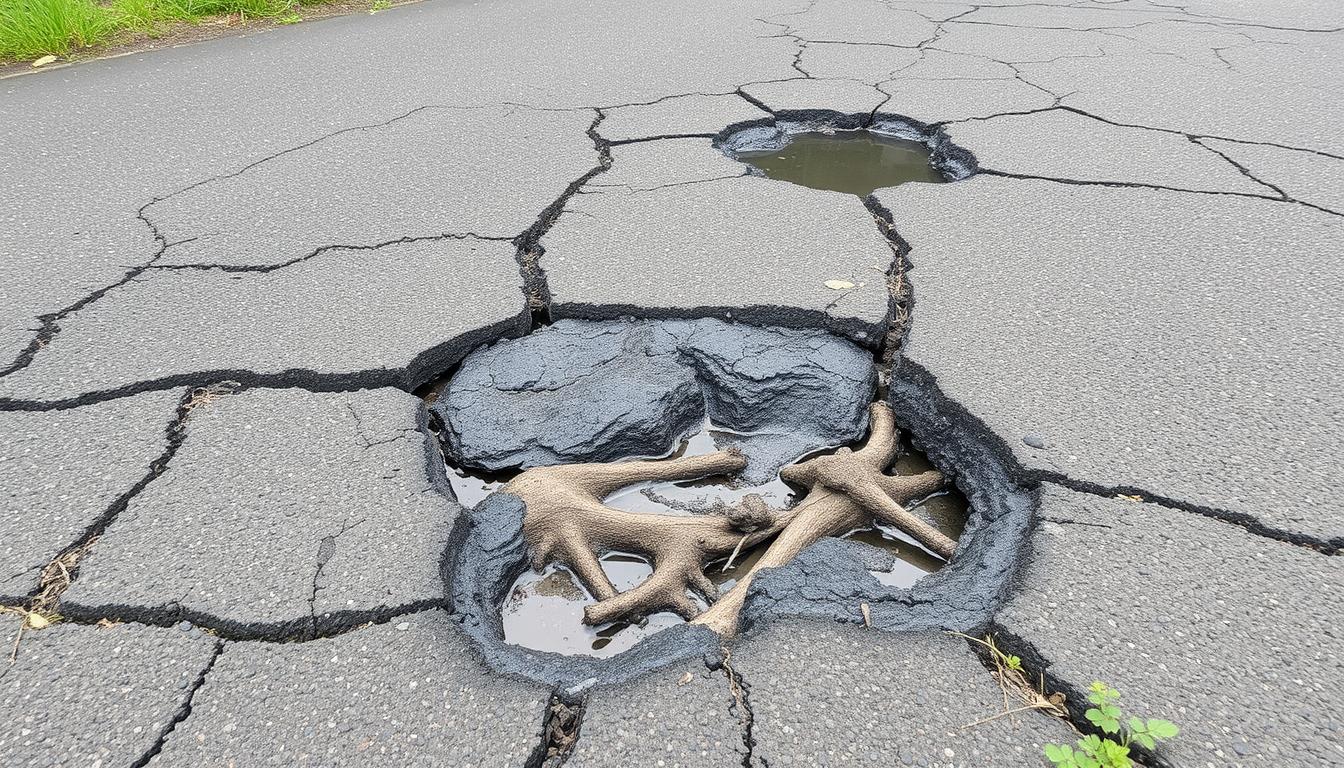
Start by looking for cracks bigger than ¼-inch. These are signs of bigger issues that need fixing right away. Potholes can also cause more harm if not fixed. Regular checks help catch small problems before they get bigger.
Identifying Surface Wear
Check the color and texture of your asphalt. If it looks faded or feels rough, it might be time for a seal. Weather and UV rays can wear it down, shortening your driveway’s life. Regular inspections help you know when it’s time for maintenance.
Checking for Drainage Issues
Also, check how water drains around your asphalt. Good drainage is key to avoiding water buildup, which can cause cracks and erosion. Making sure water flows away helps keep your asphalt in good shape.
Gathering the Necessary Tools and Materials
To get the best results from DIY asphalt sealing, you need the right tools and materials. Getting ready ahead of time can make a big difference. Knowing what tools and materials you need helps you seal asphalt like a pro.
Essential Tools for Preparation
First, you’ll need a pressure washer to clean the surface. A broom is great for sweeping away loose debris. For applying sealant, a squeegee or brush works well. A mixing paddle helps keep the sealant smooth, and professional machines can save you a lot of time.
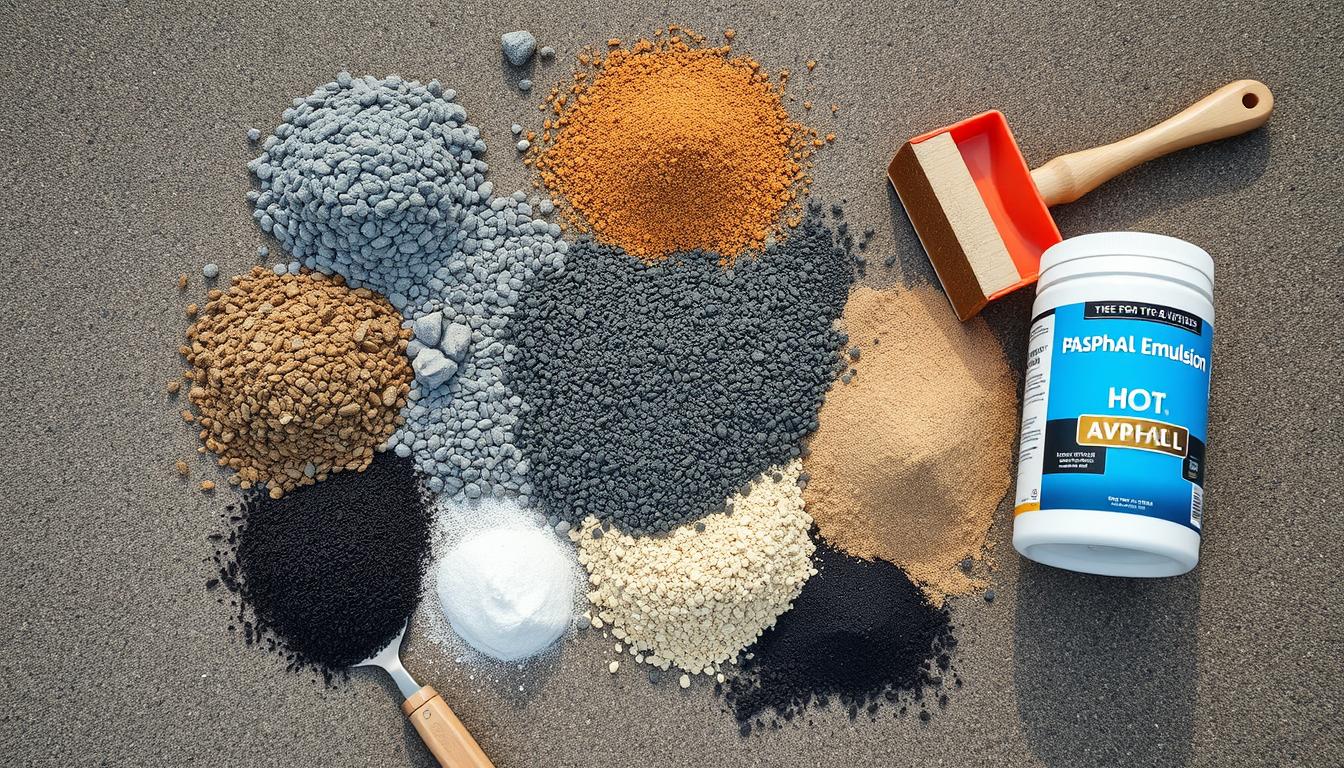
Recommended Sealant Types
Choosing the right sealant is key. Asphalt-based sealers are durable, while coal tar sealers protect against UV rays and water. Each type has its own benefits, so pick the one that’s best for your asphalt.
Quality Materials for Optimal Results
Using top-notch materials is vital for a successful DIY asphalt sealing project. A well-prepared surface can extend the sealant’s life by 30% to 50%. Avoiding problems like debris and poor prep can save you money in the long run. Make sure your materials match your project’s needs for the best results.

Cleaning the Asphalt Surface
Starting the asphalt sealing process begins with a clean surface. A clean driveway looks better and helps the sealant stick. This is essential for a long-lasting seal.
Cleaning right can also save you from expensive repairs later.
Removing Debris and Dirt
First, get rid of debris, dirt, and anything else that might stop the sealant from sticking. A regular broom works for small jobs. But for tough dirt, a strong degreaser is better.
It can get rid of oil stains fast, making your driveway last 10 to 15 years longer.
Power Washing Techniques
For a deeper clean, try power washing. It cuts down cleaning time by half. Power washing gets rid of tough stains and dirt, making the surface ready for sealing.
Make sure the surface is dry after washing to avoid problems with sealing.
Drying the Surface Effectively
Let the surface dry completely before sealing or repairing. Drying time can be a few hours to 24 hours, depending on the weather. Make sure it’s dry for the best sealant adhesion.
These tips can help your driveway last longer and save you money on repairs.
Repairing Cracks and Potholes
Fixing existing damage on asphalt surfaces is key before sealing. Good repairs extend the pavement’s life, improve looks, and function. Knowing the different repair types is important for a thorough prep.
Types of Repairs Needed
There are many repairs, like fixing small cracks and big potholes. Small cracks, up to 1 inch wide, need quick fixing to stop them from getting bigger. Cracks over 2 inches wide need a special fix, often a cold asphalt patch.
Using Crack Fillers
Choosing the right filler for cracks is critical. For cracks under 0.5 inches, cold pour crack filler works well. Cracks between 0.5 and 2 inches are best with hot pour crack filler. Using top-notch fillers, like those in a professional asphalt sealing prep service, ensures strong adhesion and long-lasting results.
Patching Potholes Properly
Pothole fixes need special materials, like cold mix asphalt, costing $8 to $20 per 50 lbs. A proper fix might take 2 to 3 hours. The repair should cure for 3 to 4 weeks before heavy traffic.
The right patching method is key to avoid more damage and keep the asphalt in good shape.
Scheduling the Right Time for Sealing
Timing is key when it comes to sealing asphalt. It’s important to pick the best seasons and watch the weather. This way, the asphalt gets sealed when it’s most beneficial, lasting longer.
Best Seasons for Asphalt Sealing
Spring and summer are the best times to seal asphalt. The weather is usually dry, and it’s warm enough. For new driveways, wait 90 days to seal it. This lets the asphalt cure well.
Sealing on time can make your driveway last up to 20 years. Without sealing, it only lasts 12 years.
Weather Conditions to Consider
Knowing the weather is important for sealing asphalt. Don’t seal when it’s raining, as it weakens the sealant. Also, avoid sealing in very hot weather, as it dries too fast.
Keep an eye on the weather forecast. Being ready to change plans helps the project go smoothly. It also keeps the asphalt safe.
Preparing the Area for Sealing
Getting ready is key for a good asphalt sealing job. Before starting, mark off the work areas to keep traffic away. This helps avoid streaks and blotches. A good pre-sealing check will show you where to focus.
Marking Off Work Areas
Set clear boundaries around the work zone for safety. Use cones or tape to mark these areas well. This keeps the sealing process safe and uninterrupted.
Protecting Surrounding Landscaping
It’s key to keep plants or landscaping safe when sealing. Use plastic sheeting or cardboard to cover them. This keeps them safe from spills or overspray that could harm them.

Ensuring Safe Access and Egress
Before sealing starts, make sure paths are safe for workers and visitors. Create detours if needed. This keeps everyone safe and avoids delays.
Applying the Sealant
Applying asphalt sealant requires a careful plan. Start by sealing the edges first, then move inward. This helps control the sealant and prevents spills.
Best Practices for Application
Several best practices are key for applying asphalt sealant. Always follow the manufacturer’s guide for application rates and drying times. Divide the area into small sections for even coverage. Rushing can cause unevenness.
Tools for Applying Sealant
The right tools are important for applying sealant. Squeegees work well for big areas, spreading the sealant evenly. Brushes are good for details or small spaces. Make sure tools are clean to prevent contamination.
Tips for Achieving an Even Coat
For an even coat, keep your hand steady and apply consistent pressure. Work in a back-and-forth motion for better distribution. Avoid applying in direct sunlight or high temperatures to prevent uneven drying.
Maintaining Your Sealed Asphalt
After sealing your asphalt driveway, keeping it up is key to its long life. Regular checks and care help spot problems early. This keeps your asphalt in top shape.
Simple steps like cleaning the surface often and fixing spills quickly are very helpful. They stop small issues from becoming big, expensive problems.
Regular Inspections and Maintenance
Check your asphalt often for signs of wear like cracks, fading, or color changes. Seeing these signs means it might be time to re-seal. A good maintenance plan, with checks every six months, can keep your driveway looking great for 30 years or more.
Signs That Re-sealing Is Needed
Watch for signs like a gray or worn look, big cracks, and water not beading off. These show your asphalt’s seal is wearing off. Reapplying sealant every two to three years keeps it flexible and strong against the weather. This keeps your driveway looking good and adds value to your property.