Ever wondered why some driveways stay in great shape while others don’t? It might be because they’re well-prepared for sealing. Preparing your driveway for sealing can extend its life by up to 30%. We’ll show you how to get your driveway ready for sealing, making it last longer and look better.
Whether you do it yourself or hire a pro, knowing the right steps is key. It ensures a perfect finish.
Key Takeaways
- Preparation can improve driveway longevity.
- Fresh asphalt needs 6–12 months to cure before sealing.
- Regular cleaning helps maintain surface integrity.
- Applying sealant every 2–3 years is recommended.
- Incorrect sealing can lead to ineffective results.
Understand the Importance of Driveway Sealing
Driveway sealing is vital to prevent damage and enhance your property’s appearance. It guards against UV rays, water, oil spills, and gasoline. This protection extends your driveway’s life and saves you from costly repairs.
Sealing also improves your driveway’s look and feel. It makes upkeep simpler.

Benefits of Sealing Your Driveway
Sealing your driveway does more than just protect it. It keeps the color bright by blocking sunlight. It also fixes rough textures, making your driveway look new again.
Regular sealing is important. You should seal your driveway every two to three years. This keeps it looking good and working well.
Common Issues Addressed by Sealing
Knowing what sealing fixes are key for driveway care. It tackles fading, small cracks, and water stains. Sealing these problems keeps your driveway looking and working great.
Ignoring these issues can lead to bigger, more costly problems. Sealing on time helps avoid these issues and saves you money.
Gather Necessary Tools and Materials
Getting ready for driveway sealing means collecting the right tools and materials. A detailed checklist will help you seal your driveway efficiently and effectively. You’ll need both tools and sealants that match your driveway’s specific needs.
Essential Tools You Will Need
For driveway sealing, you’ll need a squeegee or brush to apply the sealant evenly. A mixing paddle and drill are also necessary for thicker sealants. Don’t forget protective gear like gloves and safety glasses. Plastic sheeting is also important to protect nearby surfaces from spills or over-spray.
Make sure you have all these tools ready before you start. This way, you can follow the best practices for sealing your driveway.
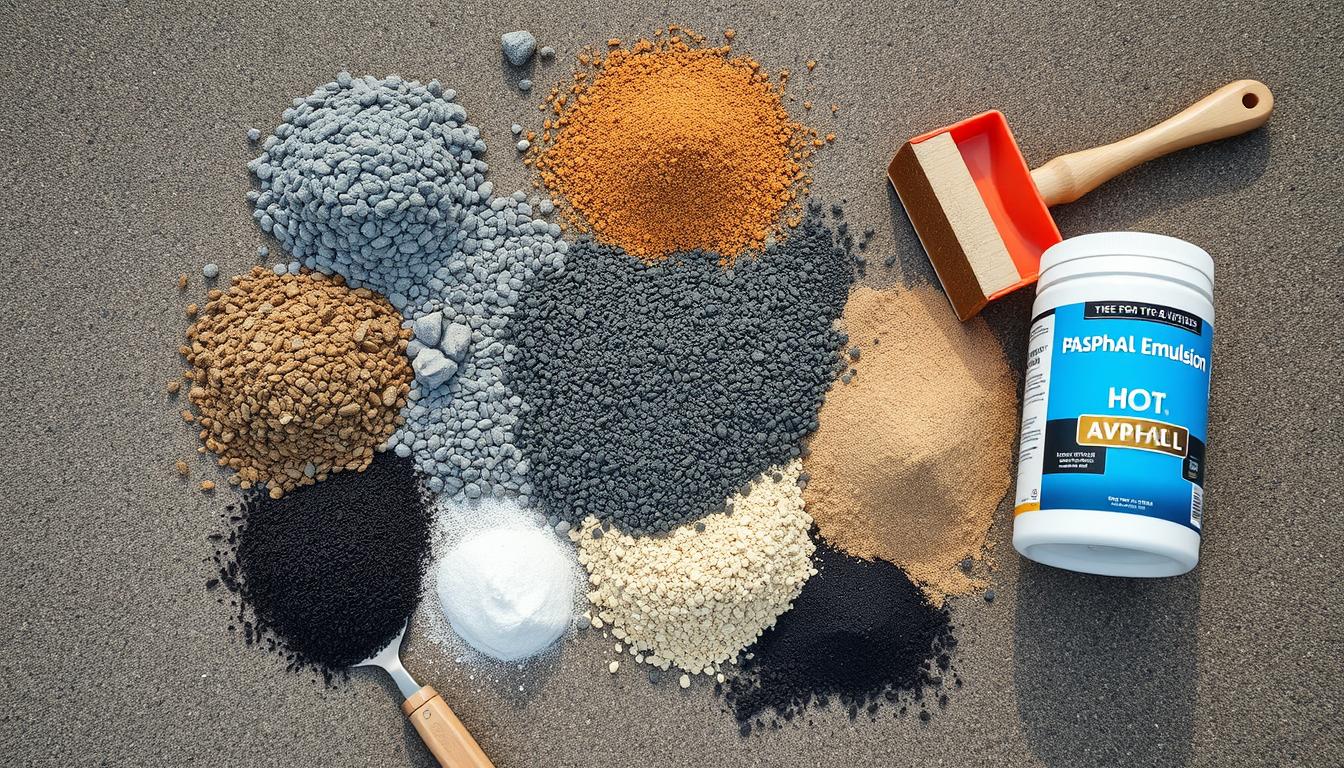
Recommended Sealant Products
Choosing the right sealant is key. Look for premium asphalt-based sealers for durability. Coal tar sealers are great for water resistance. These options help protect your driveway and extend its life.
For more specific advice, check out a driveway sealing guide. It can help you find the best sealant for your driveway’s unique conditions.
Clean the Driveway Thoroughly
Getting your driveway ready for sealing means cleaning it well. It’s key to remove all dirt and debris for the sealant to stick right. Start by getting rid of big stuff like leaves and dirt with a leaf blower or broom.
Removing Debris and Dirt
Use a leaf blower or broom to clear your driveway of leaves, dirt, and other debris. Make sure to trim the grass along the edges too. A pressure washer can help a lot, removing up to 98% of stains.
Cleaning deeply keeps your driveway looking good and helps the sealant stick better. This makes your driveway last longer and look better.
Addressing Oil Stains and Chemicals
Oil and chemical stains need quick action to avoid damage. Use a degreaser made for asphalt to treat these stains. This can help prevent discoloration and make the sealant last up to 50% longer.
After treating stains, a pressure washer is the best tool to use. It makes sure there’s no dirt left behind. Following these steps will make your driveway last longer and look better.
Inspect for Damage
Before you start sealing your driveway, it’s important to check for damage. This step helps your driveway last longer and the sealant work better. Look for cracks and potholes, focusing on those over ¼ inch.
Fixing these problems early can save you money later. If you ignore damage, it can get worse and cost more to fix. Keeping your driveway in good shape is key to avoiding big problems.
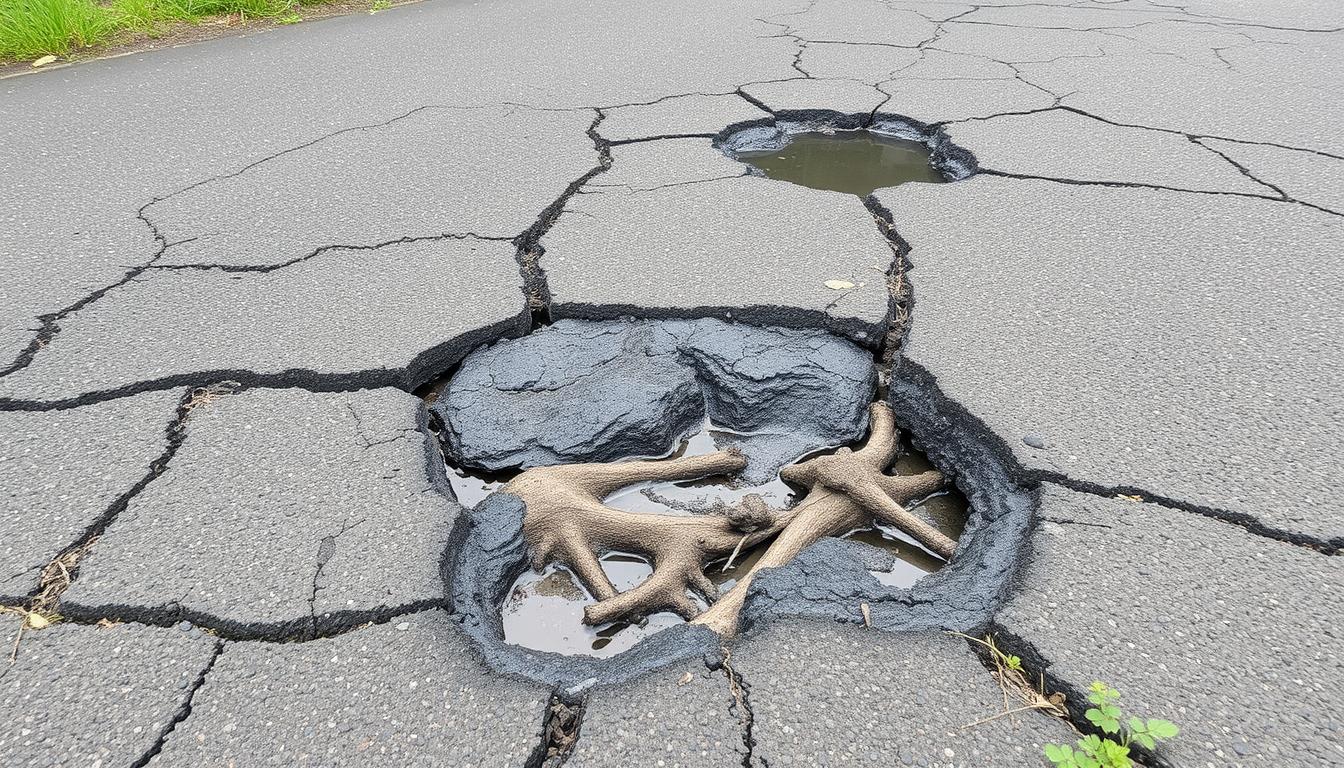
Identifying Cracks and Potholes
When you inspect your driveway, look for signs of wear. Any cracks over ¼ inch or potholes need fixing. These problems can stop the sealant from working right, letting moisture in.
About 90% of asphalt driveways get cracks in 5 to 10 years. This is because of the weather and a lot of traffic. Fixing these issues is important to stop further damage.

Importance of Repairing Before Sealing
Fixing cracks and potholes before sealing is essential for a good finish. Using the right materials for repairs can extend your driveway’s life. Without proper preparation, you might need to fix it again, which can be expensive.
Ensure all repairs are done and the surface is ready for sealing. This careful preparation will help your seal last longer and your driveway work better. It will also increase your driveway’s value and longevity.
Perform Necessary Repairs
Before sealing your driveway, make sure it’s in good shape. Fixing cracks and potholes is key to a long-lasting driveway. Using the right DIY techniques can lead to great results.
DIY Repair Techniques
For small cracks, use special crack fillers for asphalt. For bigger holes, asphalt patch compounds work better. It’s important to fill these spots well to stop water damage.
Let each repair dry completely, as the instructions say. This step keeps your driveway strong.
When to Call a Professional
If your driveway needs a lot of work, get help from a pro. Companies like HT Paving have the skills to do big jobs right. They make sure your driveway is ready for sealing.
Getting professionals to do the job saves you time and worry. It means your driveway will last longer and look better.
Allow Proper Drying Time
Drying time is key when preparing your driveway for sealing. Knowing how weather affects sealing can make your driveway last longer. It’s important to plan repairs and sealing carefully.
Timing Repairs with Weather Conditions
Choose the right weather for sealing your driveway. The best temperature is between 50°F and 120°F. Also, humidity should be under 60%.
Wait at least 24 hours after rain before sealing. This lets the surface dry properly. For the best results, wait 48 to 72 hours before using your driveway after sealing.
Importance of a Dry Surface Before Sealing
A dry surface is vital for good sealant performance. You can walk on the sealant three hours after it’s applied in good weather. But, wait at least 12 hours before driving on it.
Remember, drying time affects how well the sealant sticks. In humid weather, it takes longer for the surface to dry. This means you’ll have to wait longer before using your driveway.
Choose the Right Sealant
Choosing the right sealant is key to a great driveway. Knowing the different types of sealants is important. Good sealants protect your driveway from the weather, making it last longer and look better.
Types of Sealants
There are two main types: asphalt-based and coal tar sealers. Asphalt-based sealants fight off oils and UV rays well. They’re best for newer driveways in good shape.
Coal tar sealers, though, last longer and are better for older, worn-out driveways. Pick the right one for your driveway’s condition to get the best results.
Factors to Consider When Selecting Sealant
Think about your driveway’s material, the weather, and drying times when picking a sealant. Make sure it’s at least 50 degrees Fahrenheit during and after application. Look for sealants with low VOC levels for the environment.
High-quality sealants save you money in the long run. They mean you won’t need to seal your driveway as often. For more tips, check out this driveway sealing guide.
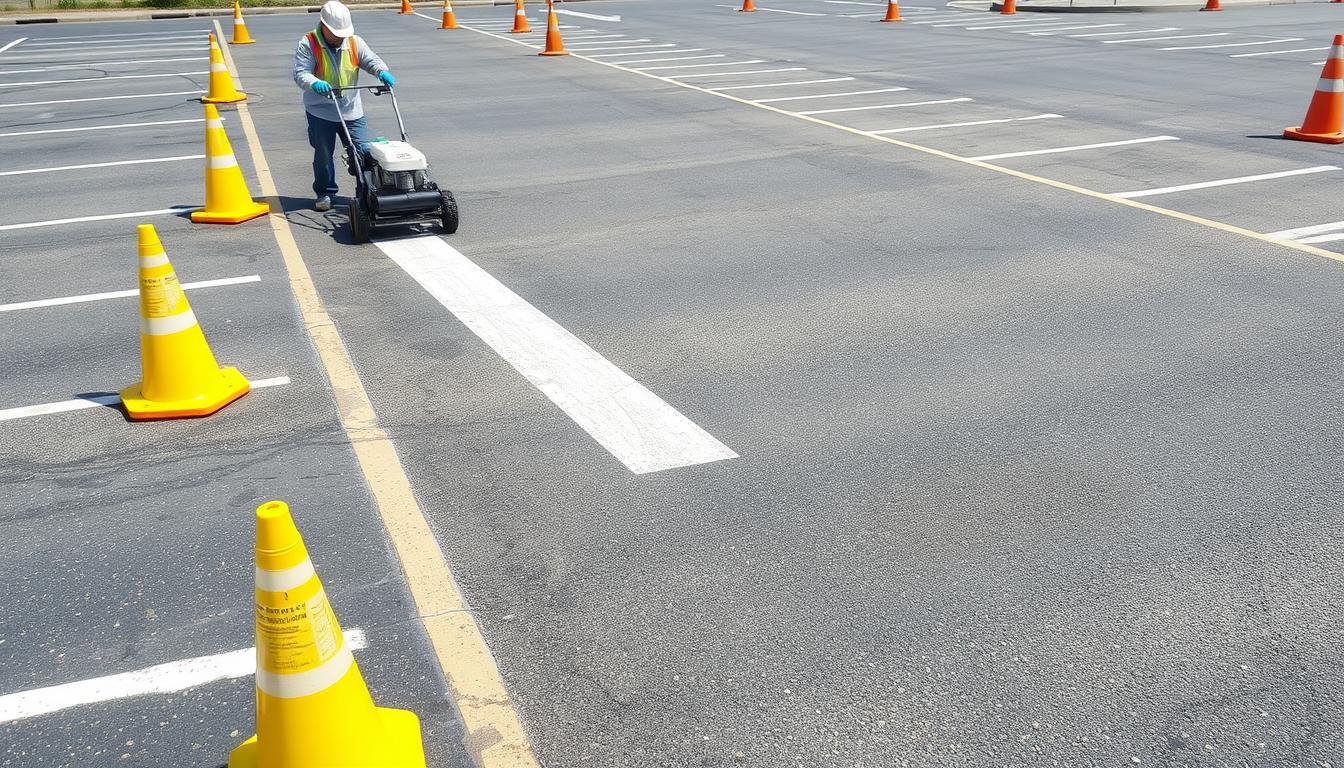
Determine the Best Application Method
Choosing the right way to apply sealant is key to a good driveway seal. You can use spray or squeegee methods. Each has its own benefits. Knowing these can help you seal your driveway well, making it last longer.
Spray vs. Squeegee Techniques
Spraying is quick and covers a lot of area. But, it’s hard to control the sealant’s thickness. Squeegeeing lets you control the thickness better and ensures even coverage.
Experts usually recommend two coats of sealer. Make sure the first coat dries before applying the second.
Benefits of Professional Application
While DIY might save money, pros offer better results. They use high-quality materials and tools. This ensures your driveway looks great and lasts longer.
Professionals avoid common mistakes like streaks or blotches. They prepare the surface correctly. This makes your driveway look perfect.
Schedule Your Sealing Service
Choosing the right time for driveway sealing is key. Spring or fall is best, with dry weather and mild temperatures. This helps the sealant stick well and work effectively.
When is the Best Time to Seal?
When to seal your driveway depends on several factors. Most experts say to seal every two years. New driveways need about a year to settle before sealing.
It’s important to have two dry days for sealing. After sealing, wait 48 hours to drive and 24 hours to walk. It takes six weeks for the sealant to fully cure.
How HT Paving Can Help You
HT Paving provides expert services for your driveway. They know the best times for sealing. They also offer discounts for veterans, seniors, and groups.
They accept all major credit cards and ACH payments. HT Paving gives you sealant and maintenance tips. Quality sealers and skilled application ensure a long-lasting driveway.
Guarantee Longevity with Proper Maintenance
After sealing your driveway, it’s important to keep it clean and well-maintained. Smart maintenance tips can help your driveway stay in great shape. Regular sweeping and washing with mild detergent removes dirt and grime.
If stains appear, clean them up quickly to avoid damage. By following these care instructions, your driveway will stay protected.
Tips for Maintaining Your Sealed Driveway
Annual inspections are key to catching and fixing cracks and damage early. Reapplying sealcoat every 3 to 5 years is recommended. The first coat should be applied within 12 to 18 months.
This proactive approach can make your driveway last up to 30 years. Proper installation and maintenance are key.
Regular Inspection and Touch-Ups
Keeping an eye on your driveway’s condition is part of a good maintenance program. If you’re sealing it yourself, follow the manufacturer’s instructions carefully. An even application is vital to avoid damage.
By following these tips and getting advice from experts like HT Paving, your driveway will stay in top shape. It will look new and function well for years.