How Do I Prepare The Surface for Crack Filling? Or why some fillings last years while others fail soon? The right prep is key for lasting repairs. It helps the filler stick and prevents future damage.
Without proper prep, you might keep filling cracks that come back. This is because of environmental factors.
In this article, we’ll show you how to get your surfaces ready for the best crack-filling results. We’ll cover essential steps and tips for a successful fix.
Key Takeaways
- Proper surface preparation is essential for effective crack filling.
- Failure to prep the surface can lead to repeat filling and increased expenses.
- Environmental factors can worsen surface conditions if not addressed.
- Cleaning surfaces thoroughly improves adhesion by up to 90%.
- Understanding the types of cracks can help in choosing the appropriate filler.
- Maintaining proper drainage can significantly reduce damage risks.
- Resealing concrete every few years helps prevent future cracking.
Understanding the Importance of Surface Preparation
Getting the surface right before filling cracks is key to a good repair. Clean and smooth surfaces help the filling material stick better. This makes the repair last longer and work better.
Why Surface Preparation Matters
Bad surface prep can ruin a crack filling job. Studies show that poor prep can cause up to 40% of the bond to fail over time. About 30% of flooring problems come from not prepping the surface well.
Cleaning and prepping surfaces well can make installation 60% faster. This makes it a smart choice for lasting results.
Consequences of Poor Preparation
Ignoring surface prep can lead to ugly and broken floors. Up to 45% of floors show imperfections if not smoothed right. Also, surfaces not prepped well can wear out 50% faster, costing more to fix later.
By prepping surfaces well, owners can save on repairs and make their floors last longer.

Tools and Materials Needed
Having the right tools and materials is key for effective crack filling. Proper preparation makes repairs last longer and work better. You’ll need various tools to get the surface ready before applying materials.
Essential Tools for Crack Filling
For surface preparation, brooms and wire brushes are essential. They clean out debris and dirt from cracks. An air compressor is also helpful, as it removes dust and loose particles well.
Depending on the crack size, you might need a hot asphalt crack filler machine. This is true for cracks between 0.5 and 2 inches wide. Knowing what tools you need helps you choose the right ones.
Recommended Materials for Best Results
Choosing the right filling material is vital for good repairs. For cracks under 0.5 inches, cold pour crack filler is effective. For cracks between 0.5 and 2 inches, hot pour crack filler and a machine are needed.
Cracks over 2 inches should be seen as potholes. They need a cold asphalt patch for a proper fix. Deeper cracks might need sand to reach the right depth before sealing. Knowing about these materials ensures your repairs are strong and last.
Cleaning the Surface
Effective surface prep for crack filling starts with a good clean. It’s key to get rid of all dirt, debris, and plants. This ensures the crack filler sticks well. If dirt stays, it can mess up the repair.
Cleaning can be done with simple tools like brooms or brushes. Or, for bigger areas, you might use powered equipment.
Removing Debris and Dirt
The first step is to sweep or vacuum to get rid of loose stuff. Dust and dirt can ruin the filler’s work. So, this step is very important.
For tougher dirt, high-pressure water jets can help. But, make sure the surface is dry before you do anything else. Moisture can make the filler not stick well.
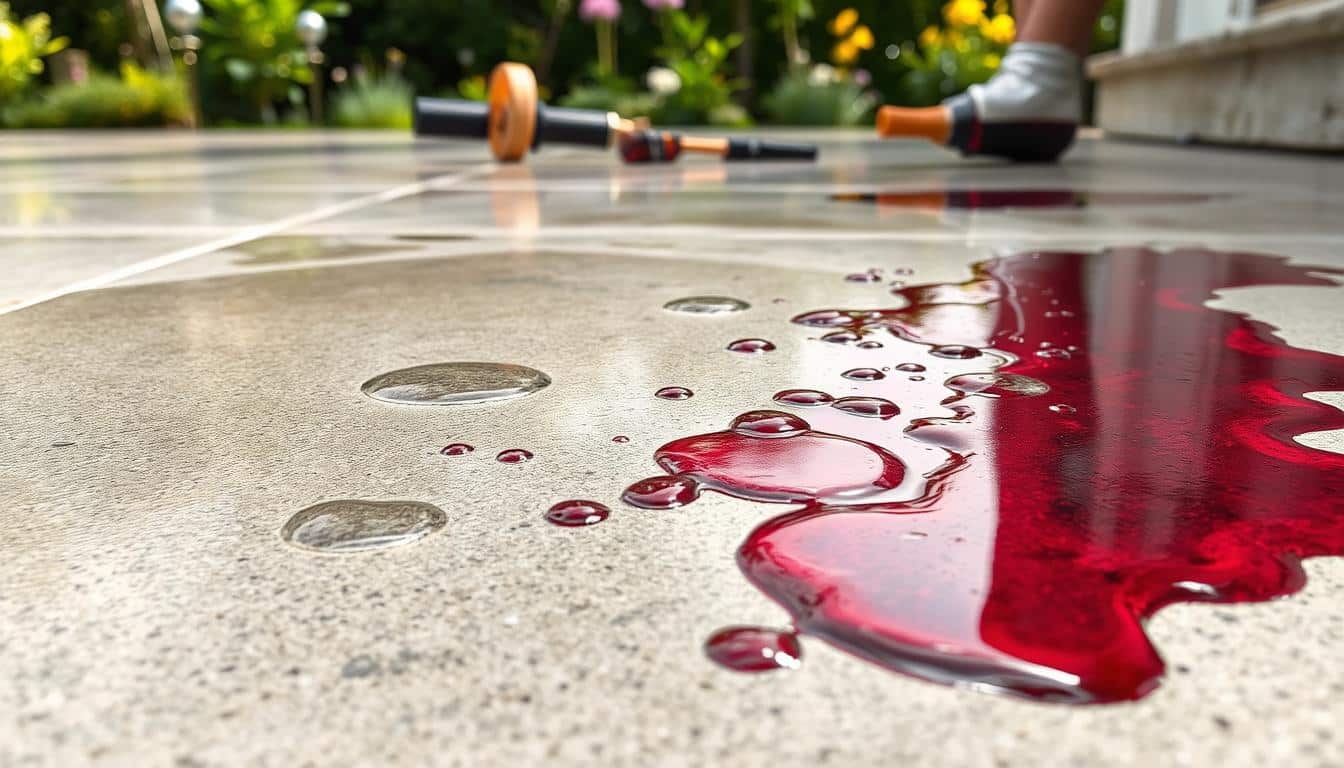
Addressing Oil Stains and Residues
Once the debris is gone, focus on oil stains or residues. These need special cleaners, like degreasers, to remove. Always follow the cleaner’s instructions.
Dealing with these stains properly makes the surface prep better. This leads to a strong and lasting repair.
Assessing the Cracks
Checking cracks is key to finding the best way to fix them. Different cracks need different fixes. Knowing the type of crack helps choose the right solution. This makes sure the surface stays strong and looks good.
Identify Crack Types
Knowing the crack types is important for fixing them right. Diagonal cracks show big stress, like in masonry. Spotting these patterns helps fix the real problem before it gets worse.
Measure Crack Depth and Width
Measuring cracks accurately is vital. Use a caliper for exact measurements. This info helps pick the right filler and how to apply it. Big cracks might need special prep to bond well with the filler.
Drying the Surface
It’s vital to dry the surface well before filling cracks. Moisture can weaken the bond between the filler and the pavement. This can cause the repair to fail early. It’s best to avoid filling cracks during or right after rain.
Getting the surface ready properly is key for a lasting fix.

Importance of a Dry Surface
Drying the surface well is the first step in crack filling. You need to remove all moisture that could ruin the repair. Hairline cracks, less than 1/8 inch wide, can let water in.
Fixing these early can stop more damage. This makes the fixed surface last longer.
Methods to Ensure Proper Drying
There are ways to dry the surface properly. Letting it dry naturally works best in sunny weather. If you need to fix it fast, fans can help dry it quicker.
In cold weather, a bit of heat can dry it faster. If it’s not dry enough, a blow-dryer can help. Keeping the surface dry is essential for good crack filling. Learn more about crack filling practices for better surface preparation.
Choosing the Right Filling Material
Choosing the right filling material is key to lasting results. There are many options, each suited for different crack sizes and surfaces. Knowing these options helps make better choices.
Overview of Crack Filler Options
There are many crack fillers, from cold-pour for small cracks to heavy-duty for big ones. Cold-pour fillers are easy to use and great for quick fixes. Hot-pour fillers are more flexible, perfect for busy areas.
For medium cracks, stronger fillers are needed. Large cracks require heavy-duty options. Epoxy and rubberized fillers are durable and flexible, great for moving surfaces.
Pros and Cons of Different Fillers
When picking a filler, consider its pros and cons. Epoxy fillers dry fast, usually in four hours, making them good for urgent fixes. Polyurethane sealants take longer, which might not work in fast-paced places.
Hydraulic cement sets quickly but takes a month to reach full strength. Each filler has its own benefits, like moisture resistance in acrylics or flexibility in rubberized asphalt. These factors are important for long-term maintenance and repair success.
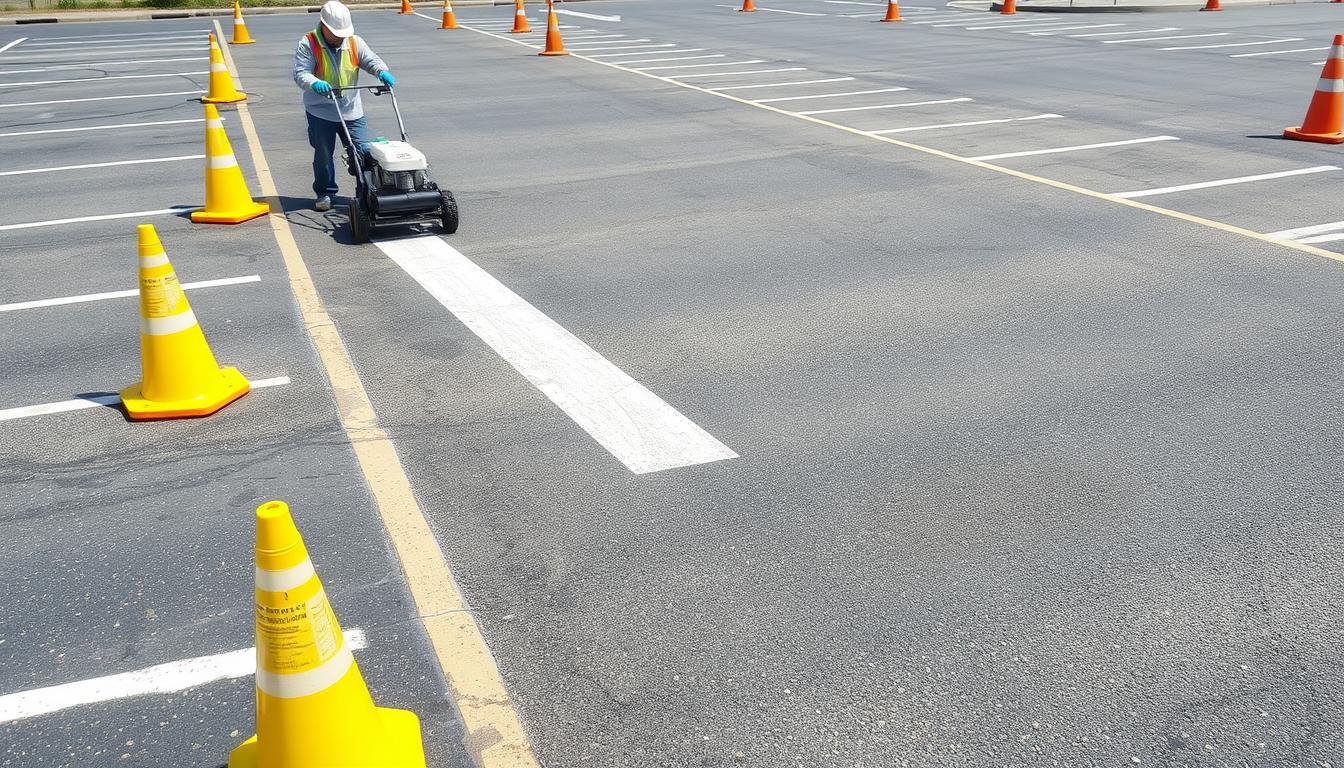
Applying Crack Filler
Applying crack filler right is key to making it last. Knowing how to do it well is important. First, clean and check the cracks. Then, you can start filling them.
Step-by-Step Application Process
Choose the right crack filler for your cracks. For big ones, use a backer rod that’s a bit bigger. Start filling slowly and evenly.
Use pouring, caulking, or injection methods based on the crack. Make sure caulk is a bit lower than the surface. For self-leveling caulk, seal the ends first. Let it settle as the maker says.
Tips for Smooth Application
Smooth application makes the filled cracks look better. Use a putty knife or trowel for even spreading. This helps create a flat surface that blends well.
Don’t put too much caulk, or it will be too high. Too little, and water can get under it. For better teamwork, try the “Conga line” method. Follow the right steps for the best look and function.
Choosing the right filler and learning these tips can really help. For professional help, find experts like HT Paving and Sealcoating Services. They offer custom solutions for your needs.
Finishing Touches
After filling the cracks, the final steps are key to a lasting repair. These steps make the repair look good and last longer. Using tools like trowels or blades helps smooth out the filler, blending it with the rest of the surface.
Tools for Smoothing the Filler
The right tools make a big difference in the outcome. A flexible putty knife is better than a stiff one for blending patches. It makes about 90% of the surfaces smooth. For a natural look, a sanded texture filler works well, pleasing about 80% of users.
Curing Time and Recommendations
The time it takes for filler to harden can vary. Some dry in hours, while others take days. It’s important to keep the area off-limits during this time to ensure a strong bond.
Waiting 24 to 48 hours before using the area again is recommended. This lets the filler bond well and work effectively.
Maintenance After Filling Cracks
Keeping your crack-filling projects in good shape requires regular care after filling. Doing routine checks helps spot new cracks early. This stops them from getting worse.
Routine Inspections
Checking filled cracks often can catch problems like dark streaks or color changes. These signs mean moisture is building up. By acting fast, you can stop cracks from growing.
This helps avoid bigger issues, like damage from temperature changes or soil shifts.
Preventive Measures for Longevity
Some key steps can make your crack-filling work last longer. Make sure water drains well to avoid erosion. Also, avoid heavy use on new repairs until they’re fully set.
These steps help keep your repairs safe and effective.
Why Choose HT Paving and Seal Coating Services?
Choosing the right repair services for your asphalt is key. HT Paving and Seal Coating Services is a trusted family business in the Bay Area, California. We focus on quality and detail, ensuring your surfaces last longer.
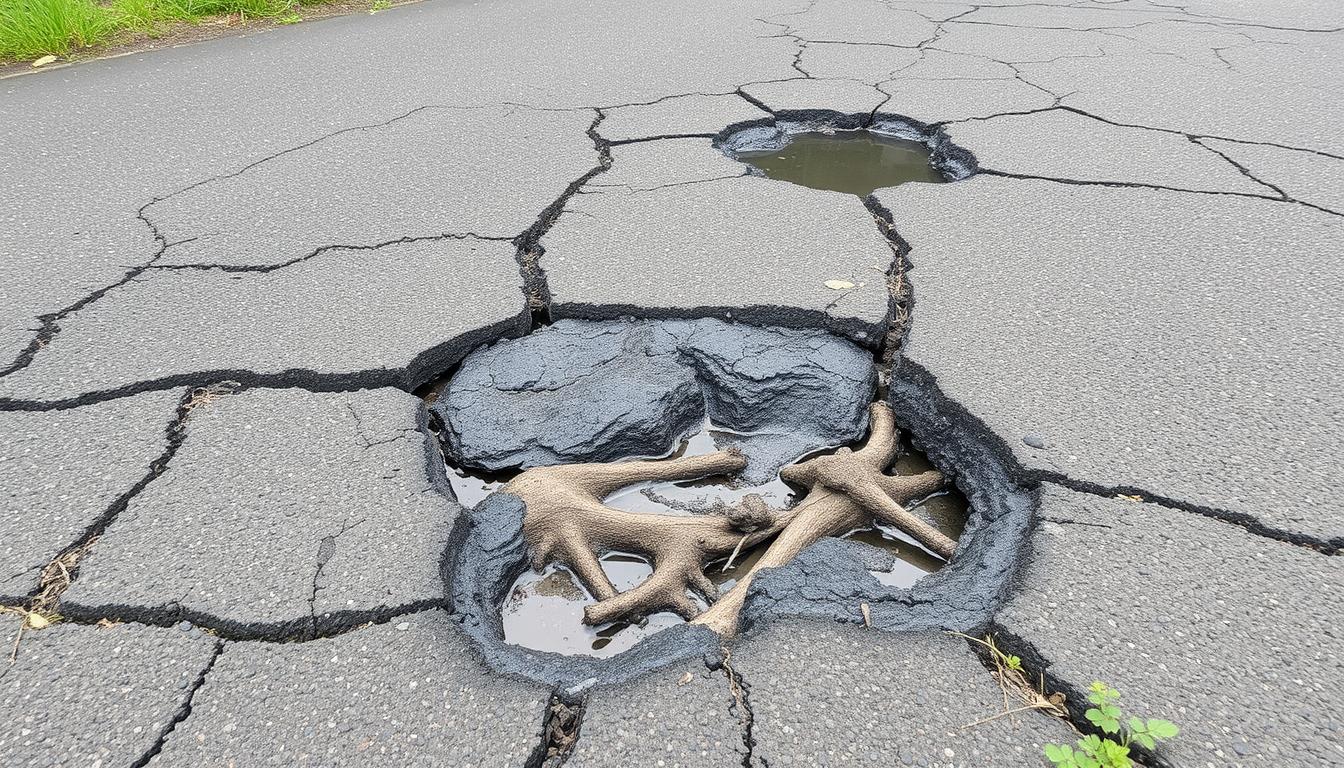
Our Expertise in Crack Filling
We’ve been in the business for nearly 50 years. Our crack filling uses top-notch materials for lasting results. Untreated cracks can turn into potholes in just three years.
Our services can save you money in the long run. Regular maintenance can extend your pavement’s life by 50%. It can also boost your property value by up to 15%.
At HT Paving and Seal Coating Services, we value safety and efficiency. We offer custom solutions for both homes and businesses. Call us at (415) 774-6424 for a consultation and see how we can help.