Ever wondered What Steps Are Involved in the Paving Process? or why paving can last a long time or lead to expensive fixes? Knowing the paving process is key to smart pavement choices.
Paving is vital for making driveways, parking lots, and roads last. With the right steps, anyone can ensure their pavement lasts. This guide will walk you through each step, from start to finish, showing why each step matters.
For keeping your pavement in top shape, check out asphalt crack filling. It’s a great way to prevent damage and extend your pavement’s life.
Key Takeaways
- Good planning can make asphalt last 15-20 years with care.
- Bad paving can cost 10% to 30% of the original price to fix.
- Soil stabilization might add 5% to 10% to the project cost.
- Thicker pavement means longer life—3 to 4 inches for business lots, 2 to 3 for homes.
- Using top-quality materials can cut maintenance costs by up to 35%.
Understanding the Paving Process
Getting to know the paving process is key to success. It’s not just about laying materials. It’s about planning and choosing the right materials for the best results. Good paving makes surfaces last longer and look better, which is vital for any project.
Importance of Proper Paving
Proper paving is very important. It makes surfaces look good and work well, saving money on repairs. When asphalt and concrete are done right, they don’t crack or get potholes as much.
Keeping them up with regular care can make them last 30% longer. This means they can last 20 to 25 years. Choosing quality paving methods is a smart investment that keeps surfaces looking and working great.
Overview of Different Paving Materials
Knowing about different paving materials is important. Asphalt is popular because it’s durable, affordable, and can be recycled. Almost all old asphalt is reused in new projects.
Concrete lasts longer but costs more upfront. Eco-friendly options like Warm Mix Asphalt (WMA) are also available. They use less fuel and produce fewer emissions. Picking the right materials for your project makes it last longer and is better for the environment.
For more on how to keep surfaces in top shape, check out this guide on line striping for parking.

Initial Assessment and Site Preparation
Getting the site ready is essential for a good paving job. First, we assess the area carefully. We look at soil conditions and drainage.
Evaluating the Area
We do soil tests to see how much weight it can hold. This tells us what prep work is needed. In places like Seattle, where it rains a lot, we focus on proper grading to avoid water pooling.
Clearing Existing Surfaces
Before paving, we clear the area. We remove old materials, debris, and plants with heavy machinery. A clean and stable area is necessary for a good paving job.
Soil Compaction Process
The soil compaction process makes the sub-base stable. This is important because it supports the asphalt or concrete layers. A well-compacted base can make the pavement last up to 30% longer.
It also reduces the risk of cracks and ruts by about 70%. Without this step, the paved surface might sink or shift in the future.
Design Planning for Paving
Effective design planning for paving is key for both looks and function. It involves looking at many factors for the best result. Knowing how the area will be used and how much traffic it will get is important.
For busy spots, using a thicker layer of asphalt makes it last longer. This is because it’s more durable.
Choosing the Right Design
When picking a paving design, you need to think about the materials and how they’re installed. Rigid pavements are cheaper to maintain and last longer than flexible ones. But, flexible pavements are cheaper upfront and can handle temperature changes better.
The choice between these affects the project’s success a lot.
Planning for Drainage
Drainage planning is also very important. It helps prevent water from pooling, which makes the pavement last longer. Checking the site’s slopes and grading helps water flow away from the pavement.
Adding features like retention ponds can also lower flood risks. This makes the structure stronger and safer.
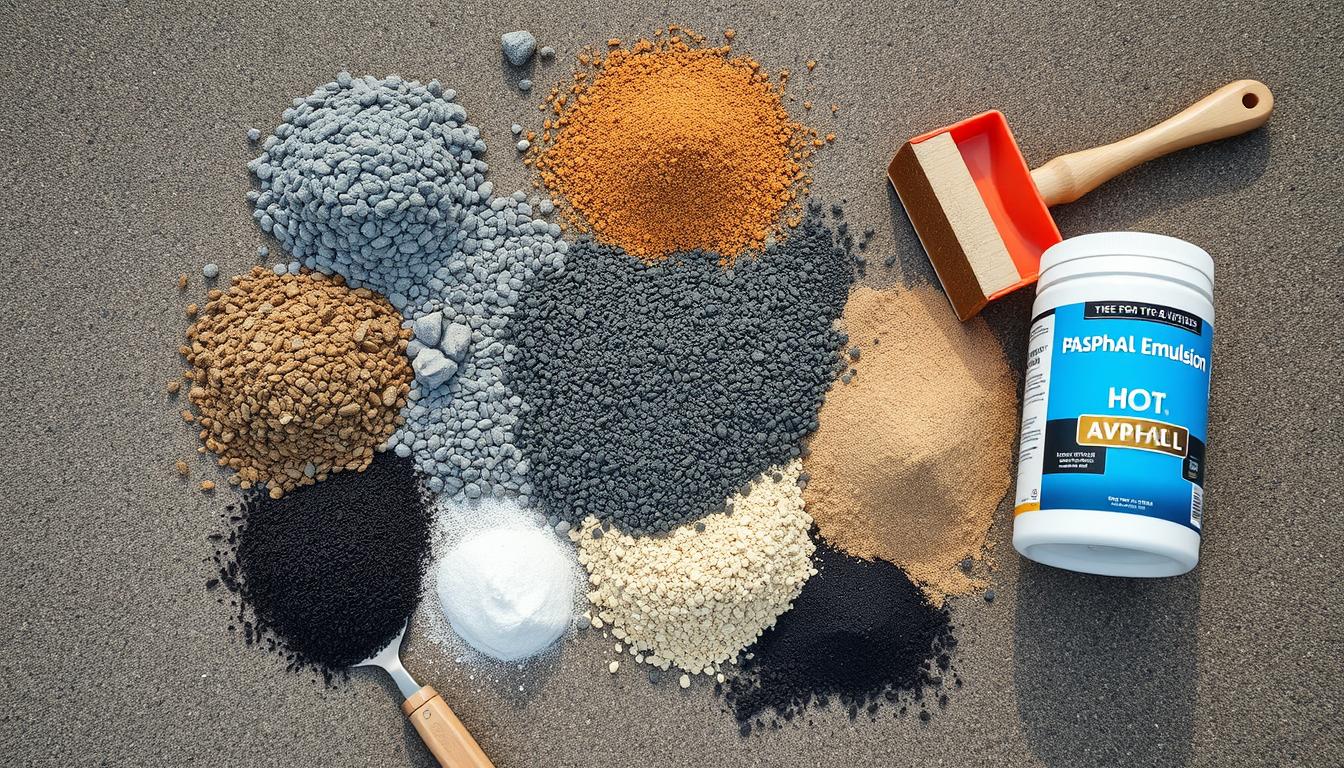
Material Selection for Paving
Choosing the right materials is key for paving projects. It’s important to know about different asphalt types. This knowledge helps meet specific project needs.
There are various asphalt mixes like hot mix, warm mix, and cold mix asphalt. Each type is suited for different climates and uses. They ensure the paving is both durable and functional.
Common Asphalt Types
Hot mix asphalt is great for areas with lots of traffic. Warm mix asphalt is better for the environment because it’s made at lower temperatures. Cold mix asphalt is best for small repairs.
Choosing the right asphalt can make a big difference. It affects how long the paving lasts and how well it works.
Concrete vs. Asphalt
Concrete and asphalt have their own benefits. Concrete lasts longer and needs less upkeep, making it good for busy places. Asphalt, though, is faster to install and easier to fix.
The choice between concrete and asphalt depends on what the project needs and the budget.
Eco-Friendly Options
The paving industry is moving towards greener options. Recycled asphalt is becoming more common, cutting down on waste and supporting sustainability. Permeable pavements also help manage stormwater and reduce environmental harm.
Using eco-friendly materials meets legal standards and appeals to those who care about the environment.

Installation Steps for Paving
Installing paving requires careful steps for it to last. From laying a solid foundation to the final surface layer, each step is critical. Knowing these steps is essential for a successful paving project.
Laying the Foundation
A strong foundation is key to the pavement’s strength. It starts with digging to a depth of about 6 inches for a standard patio. Proper ground preparation helps avoid water issues, making the pavement last longer. A solid foundation supports all the layers that come after it.
Installing the Base Layer
After the foundation, the base layer is installed. It uses heavy aggregates for strength, needing about 4 inches of gravel for a 60 square foot area. This layer is spread and compacted to ensure it can handle loads and withstand freeze-thaw cycles. Proper compaction is key to the layer’s durability.
Applying the Surface Layer
The last step is applying the surface layer paving. This layer is smoothed out, with 1 inch of sand underneath. It’s compacted right away to remove air pockets and improve durability. Polymeric sand fills gaps, reducing weeds and improving the pavement’s look and lifespan.
Finishing Touches
The final stages of paving are key to making the surface look good and work well. Finishing touches include edging and surface texturing. These steps make paved areas last longer and look better.
Edging and Compaction
Edging sets the shape and structure of a paved area. It’s important for keeping the material in place and the area looking neat. A plate compactor with a rubber mat helps compact the surface well.
This makes the surface stable and less likely to crack or settle over time.
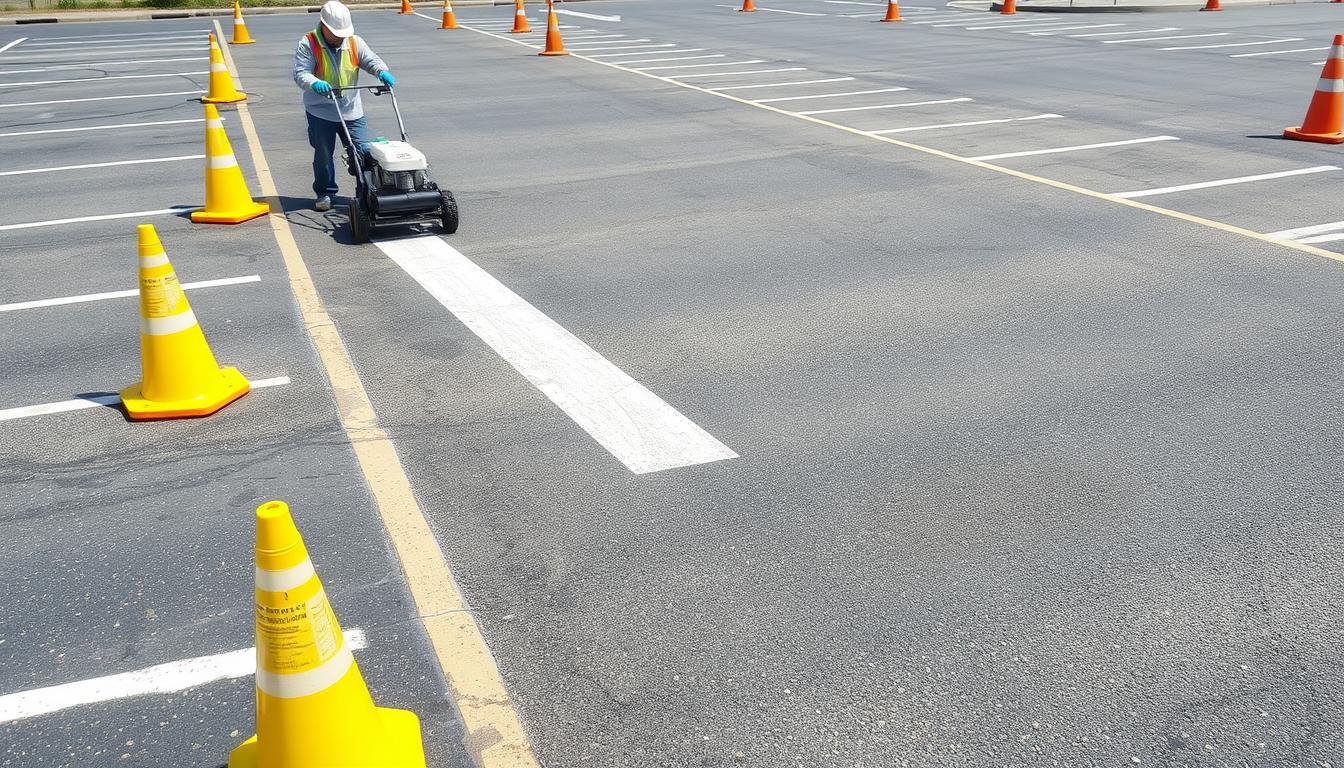
Surface Texturing
Surface texturing adds safety features like skid resistance. It makes paved areas safer to walk or drive on. Different techniques can be used for different looks, from smooth driveways to textured commercial areas.
Texturing not only makes paved areas safer but also more attractive. It can greatly enhance the beauty of a paving project.
Quality Control Measures
In paving, it’s key to have good quality control to get lasting results. Quality assurance makes sure the surface lasts longer and works better. It also saves money by avoiding expensive fixes later on and keeps roads safe.
Importance of Quality Assurance
Quality assurance is very important in paving. Contractors who focus on quality control can spot problems early. This makes the pavement reliable and long-lasting.
Sticking to high standards means using the best materials and methods. This leads to a smoother road that’s better for cars and saves money on upkeep.
Regular Inspections During Installation
Regular checks during installation are vital for quality assurance. These inspections help catch and fix problems right away. This keeps the project strong and reliable.
This careful approach improves the quality of the construction. It ensures the pavement is well-made and lasts longer. It also helps avoid cracks and makes the paving process better.
Safety Protocols in Paving
Keeping workers safe is key in paving. They face dangers like hot materials, fumes, and heavy machinery. Following road safety rules helps lower these risks and makes the job safer.
Road Safety Standards
Following road safety rules is vital for paving projects. It means having the right signs, barriers, and managing traffic well. This protects workers and drivers.
Work zone crashes happen often, causing two fatalities a day. A good traffic plan can cut down on accidents. Using Automatic Flagger Assistance Devices (AFADs) helps control traffic safely. It also warns workers of any dangers.
Having trained traffic observers adds to the safety. They watch over the area to keep everyone safe.
Workplace Safety Practices
Preventing injuries is the main goal in paving. Workers need Personal Protective Equipment (PPE) like bright clothes and masks. This can reduce accidents by up to 70%.
Training is also important. Good safety training can make workers follow rules better by over 60%. Checking equipment daily can also lower accident rates by nearly 40%.
Daily talks and checking for hazards are key. They help spot dangers early and keep the work area safe.
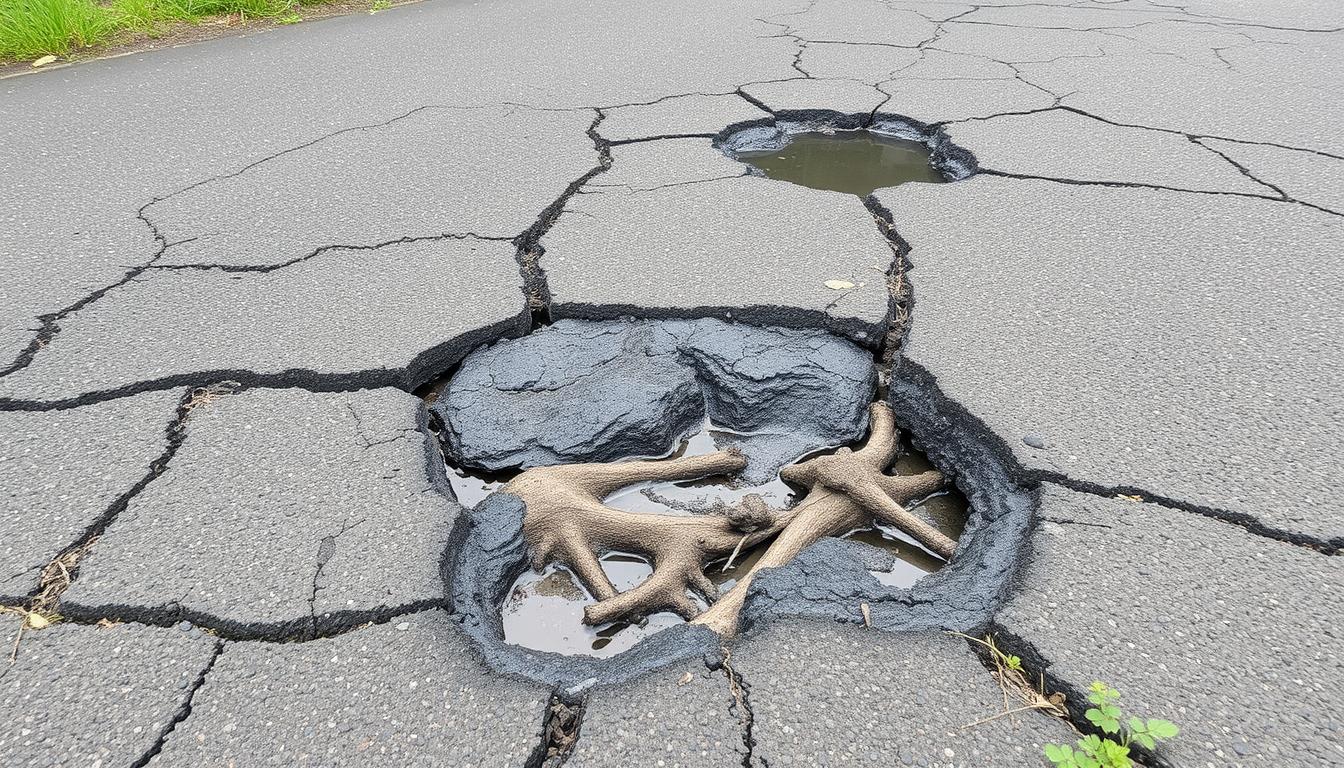
Maintenance and Longevity
Keeping your asphalt in good shape is key to making it last longer. Regular checks and quick fixes can save you money in the long run. A well-kept surface can last 20 to 30 years, thanks to seal coating.
Tips for Maintaining Your Pavement
Keep your pavement clean, seal cracks, and fix problems fast. Small cracks should be fixed before they get bigger. Potholes and alligator cracks need patching to keep the surface strong.
Also, fix utility cuts and water damage areas quickly. This keeps your pavement stable and drains water properly.
Benefits of Regular Seal Coating
Seal coating is a game-changer for your asphalt. It protects it from UV rays, moisture, and chemicals. Seal your asphalt six months after it’s laid and every few years after that.
This not only looks good but also makes your pavement last longer. Seal coating helps prevent cracks and fading. It’s a smart move for keeping your pavement in top shape.
Choosing HT Paving and Seal Coating Services
Choosing a certified paving company like HT Paving is key for lasting results. A certified company follows industry standards and best practices. This means your paving will last longer.
HT Paving uses the latest materials and techniques. This ensures your pavement meets high-quality standards. It also saves you time and money in the long run.
Why Working with a Certified Company Matters
Working with HT Paving and Seal Coating Services means your project is in good hands. They focus on quality workmanship. This means your asphalt lasts longer, protected from UV rays, moisture, and chemicals.
Regular maintenance by certified pros prevents costly repairs. It keeps your surfaces in top shape.
Commitment to Customer Satisfaction
Customer satisfaction is HT Paving’s main goal. Their customer service team listens and meets your needs. They offer expert advice from start to finish.
HT Paving uses experienced pros and top materials. This ensures your paved areas look and function great. For Bay Area inquiries, call HT Paving at (415) 774-6424.